My shopping cart
Your cart is currently empty.
Continue Shopping
Knowing how to measure the jamb width is crucial for ensuring your door fits perfectly and operates smoothly. One of the most important things in door installation is measuring the jamb width accurately, as this step directly affects the door’s fit and sealing ability. Incorrect measurements can cause issues like sticking or improper closing. This guide will walk you through the essential tools and steps needed to measure accurately.
Accurate door jamb measurements are essential for proper door function, alignment, and energy efficiency.
Utilizing the right tools, such as a tape measure and level, ensures precise measurements and prevents installation issues.
Understanding wall thickness and common jamb sizes is crucial for selecting the appropriate door jamb for a snug fit.
One of the most important things is to ensure the jamb width matches the wall thickness for a proper fit and to avoid gaps or drafts.
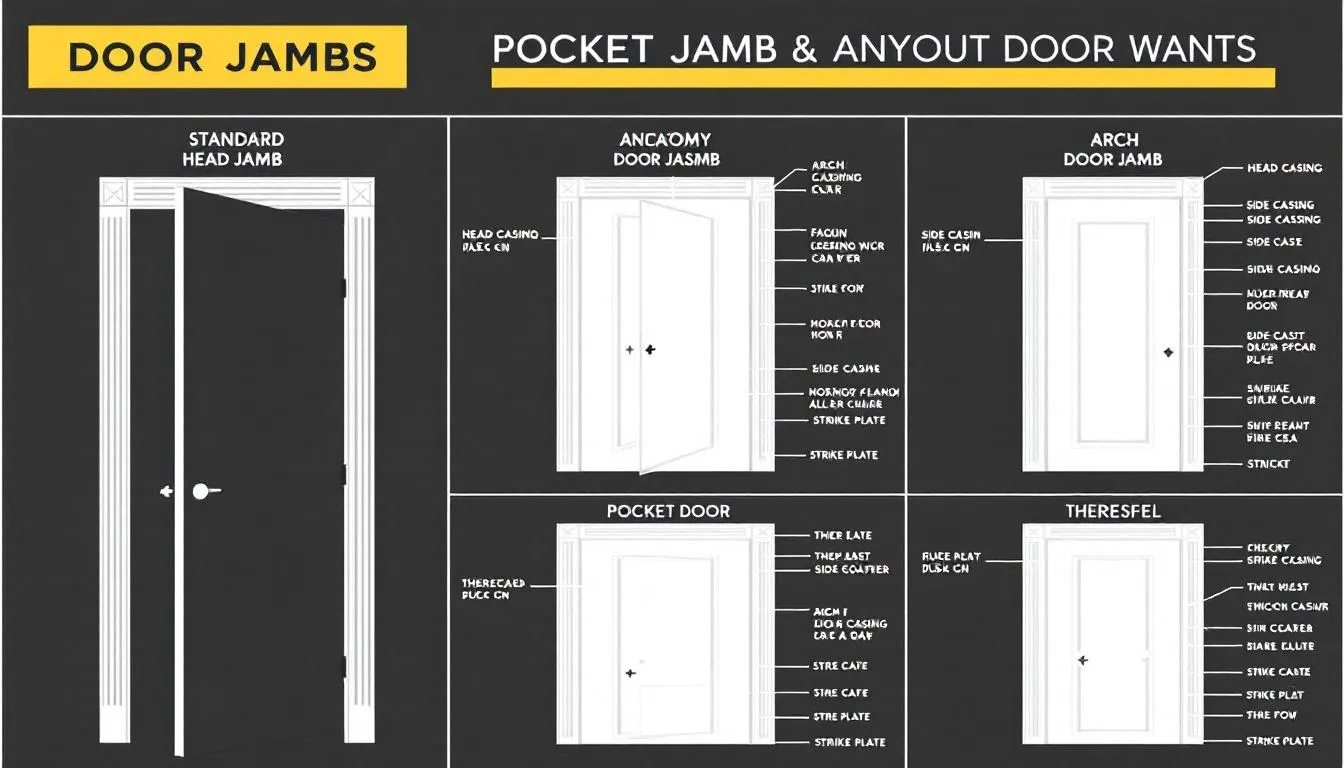
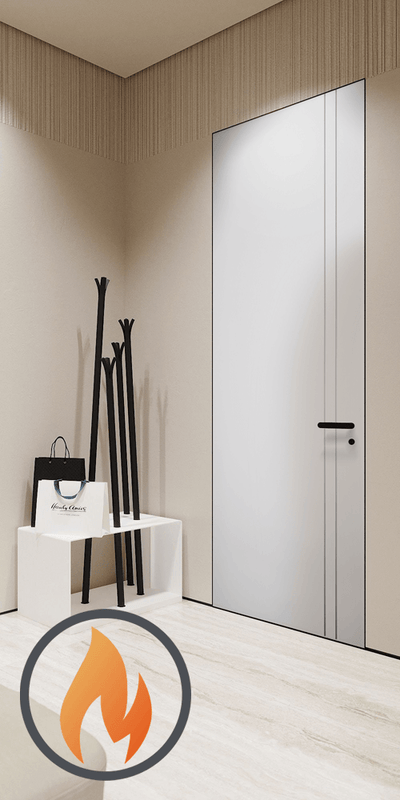
The door jamb is the vertical part of the door frame where the hinges are attached. It serves as the backbone of your door’s functionality, ensuring that it opens, closes, and locks properly. A well-measured door jamb is crucial to prevent issues like excessive trimming or inadequate protection from sounds and dust. Without it, you’d be dealing with doors that don’t close properly, reduced energy efficiency, and an overall compromised structure.
The door jamb is not just a piece of wood; it’s an essential element that supports the door, maintains its alignment, and secures the hinges. Incorrect measurements can lead to a variety of problems, from difficulty in door closure to reduced energy efficiency. If the jamb is not measured correctly, you may be unable to achieve a tight seal, resulting in a gap that affects how the door closes. Therefore, getting the door jamb size right is paramount to the success of your door installation project.
Accurate door jamb measurement requires the right tools:
A tape measure is crucial for obtaining the exact dimensions of the door opening.
A level ensures that the door frame is straight and upright, fundamental for proper installation.
Digital callipers are useful for precise adjustments, especially in detailed work.
A laser measure offers quick and accurate distance readings, speeding up larger projects. A square tool confirms the corners of the door frame are at right angles, preventing misalignment. Accurate and straight measurements are particularly important in spaces with uneven surfaces.
Correct use of these tools ensures accurate measurements, crucial for a proper and functional door jamb fit. The right size ensures your door swing smoothly rather than dragging or sticking.
Measuring the jamb width requires meticulous attention to several steps to avoid errors at the threshold and ensure proper alignment with the feet.
Let’s break down the process to determine manageable parts.
Clear the space around the new door by removing trimmed trim or casings and any wall covering for an unobstructed view of the framing frame in the room, ensuring accurate measurement.
An unobstructed view ensures precise measurements. Ensure the rough opening is exposed and free of debris for a smooth open installation.
Wall thickness is crucial for determining the correct door jamb size. Use a tape measure to account for wall studs and sheetrock thickness, as well as any wall framing and exterior siding present, noting that wall studs are typically 24 or 26 inches, and sheetrock is usually 1/2 or 5/8 inches thick.
The door jamb width should match the wall thickness to fully cover the wall framing and any siding for a neat finish, ensuring a snug fit and secure frame. Accurate wall thickness measurement influences the door’s fit and functionality.
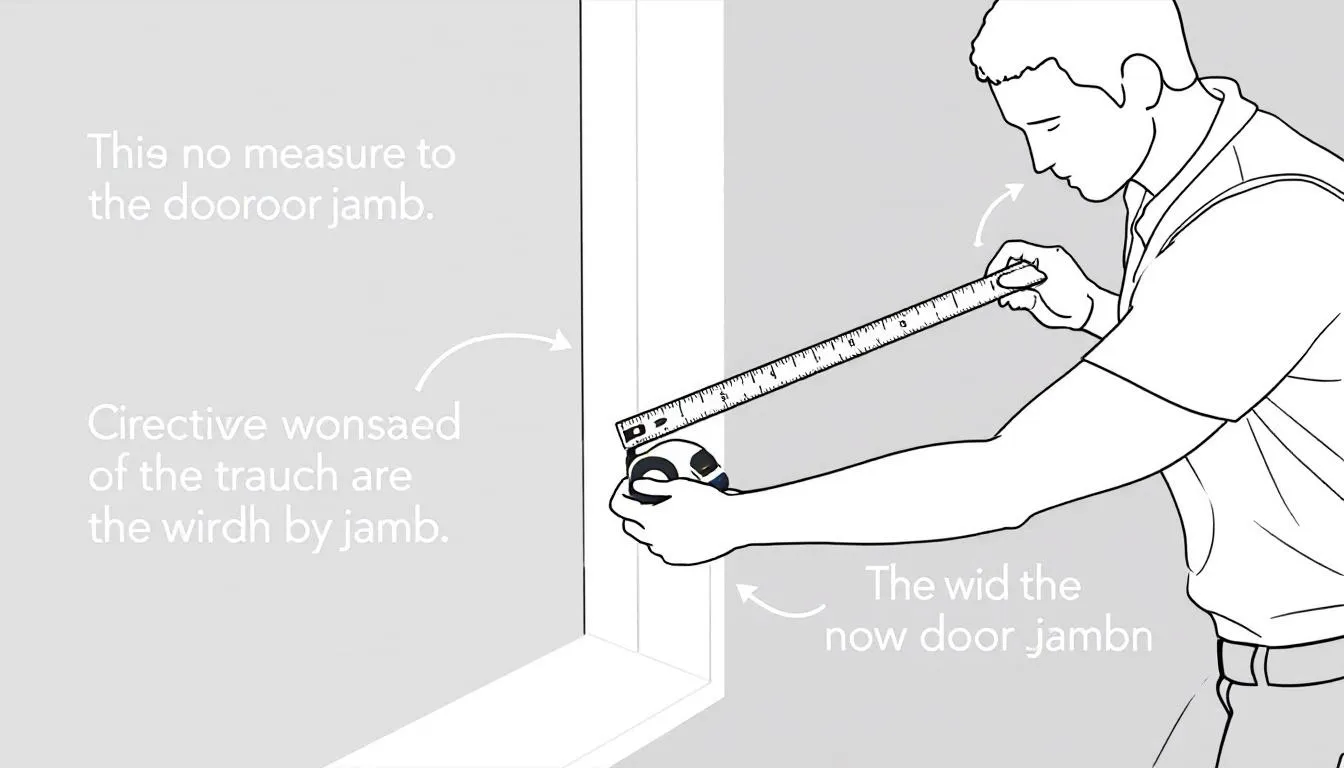
Place the tape measure directly against the jamb, making sure to measure from the visible edges for accuracy, excluding any trim or decorative elements, to get the precise width needed for a proper fit.
Measure at multiple points (top, middle, bottom) to ensure consistency and identify any frame irregularities at the center. Accurate measurements prevent installation issues and ensure proper door closure.
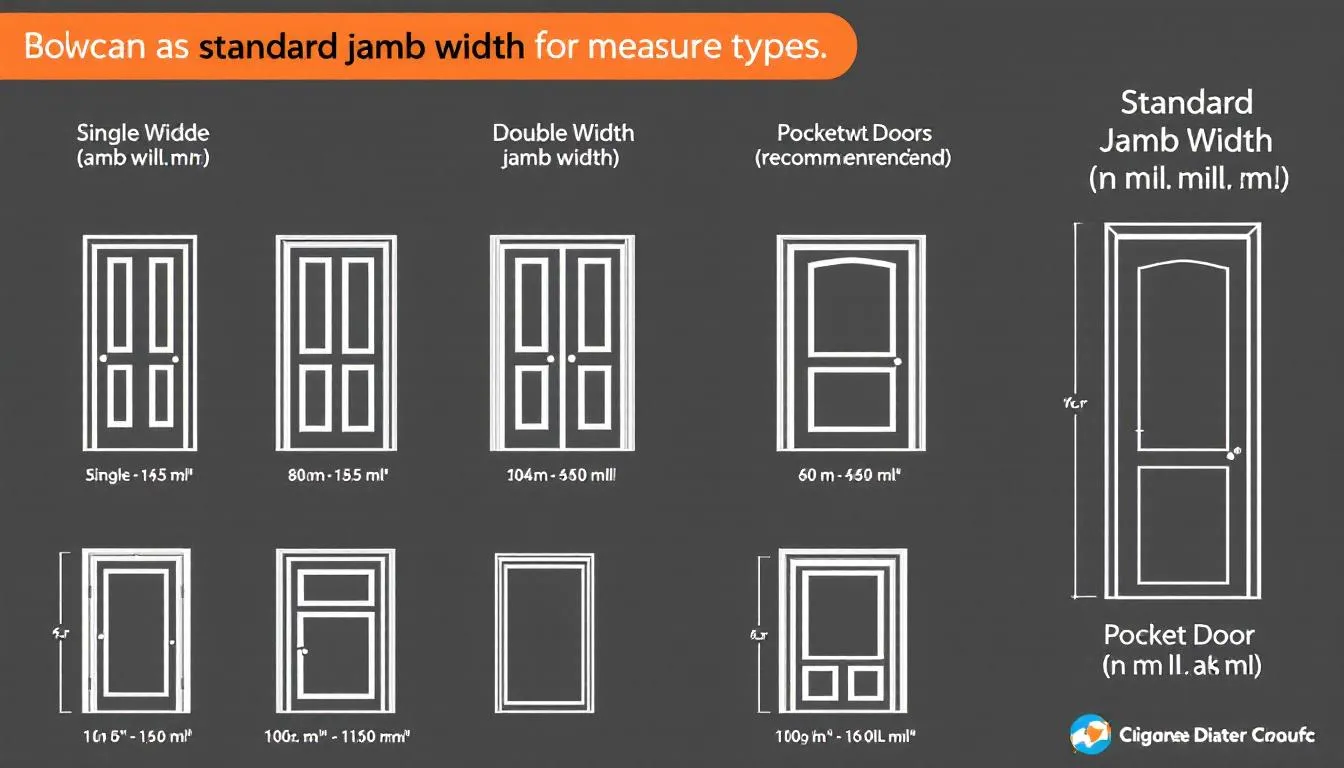
Standard door jamb sizes are around 4 9/16 inches wide for a 2x4 frame with half-inch drywall. For 2x6 stud walls, jamb widths typically range from 6 9/16 to 8 inches, ensuring a proper fit in residential construction with standard width.
Load-bearing walls typically require a wider door jamb width of 6 9/16 inches to accommodate structural support. Exterior and split jambs serve specific purposes like weather resistance and easier installation. Additionally, considering door width is essential for ensuring proper fit and functionality. Knowing the door size and frame size is crucial for selecting the right jamb width, as both measurements help ensure the jamb will fit the rough opening and accommodate the door properly.
Matching the door jamb size to the wall thickness ensures a seamless fit. For thick drywall or stucco on a 2x4 frame, a 5 1/2 inch jamb width is recommended. Knowing these standard sizes aids in selecting the correct jamb.
Wall thickness significantly influences door jamb width. Thicker walls, like a 2x6 frame or block wall, generally require a jamb size of 6 9/16 inches.
Adjustments to door jamb dimensions may be necessary for different wall types, like thick drywall or sheathing. Customizing the door jamb size ensures a perfect fit and stable frame.
This step is crucial for a proper install installation, regardless of the wall type. Once the correct jamb size is selected, it can be installed to ensure a perfect fit.
Verifying measurements is crucial for accuracy. To confirm the rough opening is square:
Measure the diagonals.
Ensure the diagonals are equal.
Allow a maximum deviation of 1/4 inch. This ensures the door fits correctly and functions smoothly.
Check the header to ensure it is level and properly aligned with the rest of the frame.
To ensure the rough opening is level and plumb:
Allowable deviations typically range from 1/8 to 1/4 inch.
Use a carpenter’s square to check that corners are perfectly perpendicular.
Meticulously record these measurements to maintain an organized reference and minimize errors.
Double-check each sides of the door frame for consistency to catch discrepancies. This thorough verification ensures the door jamb fits perfectly, providing smooth and functional operation. Verify the alignment to guarantee optimal performance.

Accurate door opening measurements are vital for the correct door jamb fit. Measuring the entire door unit, including the jamb and frame, is essential to ensure a proper fit.
The type of door, interior doors or exterior doors, affects the necessary jamb width. For an exterior door, additional considerations such as weather resistance and insulation are important when selecting the jamb size. Choosing the correct door jamb size based on these factors ensures proper function and aesthetics.
Use a level to check if the rough opening sill is straight, avoiding sagging or crowning. Align the door jamb from the hinge side first before securing, ensuring smooth swinging and closing.
Steps for installing a jamb:
Adjust the jamb’s position using shims to ensure it remains level during installation.
Secure the jamb with nails, making sure each shim is in place to maintain alignment.
Trim the bottom of the jamb for uneven floors to ensure a perfect fit. Be sure to account for any changes in floor height or flooring material.
These installation tips ensure a snug fit, providing a stable and functional door frame. Proper alignment and securing of the jambs are crucial for smooth operation and longevity in hardware installation, including the lockset. Ensure the latch is properly aligned with the strike plate for secure closure.
In summary, measuring the jamb width accurately is essential for a proper door installation. This is especially important if you plan to replace an existing door or jamb. From understanding what a door jamb is to selecting the right size and ensuring a perfect fit, each step plays a crucial role. Accurate measurements prevent issues like improper door closure and reduced energy efficiency.
Armed with the right tools and knowledge, you can measure and install door jambs like a pro. Remember, meticulous preparation and verification of measurements are key to a successful installation. Happy measuring!
Accurate door jamb measurements are essential for ensuring a proper fit, allowing the door to close smoothly while effectively blocking sounds and dust. Proper measurements enhance the door's functionality and performance.
To measure a door jamb accurately, you will need a tape measure, level, digital calipers, laser measure, and a square tool. Using these tools will ensure precision in your measurements.
To accurately measure wall thickness for a door jamb, use a tape measure to account for both the wall studs and the sheetrock. This will ensure you get the correct dimensions for installation.
Standard door jamb sizes typically measure 4 9/16 inches, 5 1/4 inches, or 6 9/16 inches, varying based on wall thickness. Selecting the correct size is crucial for proper installation and function.
To ensure accurate measurements, verify that the rough opening is square, level, and plumb, and consistently double-check your results. This attention to detail is essential for achieving precise measurements.


Trade Program
Are You a Trade Professional?
Architects, designers, and contractors receive exclusive pricing and dedicated project support.
Learn About Trade Pricing →Get Started
Our team can help with product selection, sizing, and specification — at no charge.


