My shopping cart
Your cart is currently empty.
Continue Shopping
Looking to refinish your furniture for a fresh new look? Even small refinishing projects can make a significant difference in the appearance and value of your furniture. This article guides you through the entire process, from preparing your tools to applying the perfect finish in fall . Learn how to transform your old pieces step-by-step. You'll also find expert advice to help you avoid common mistakes and achieve the best results.
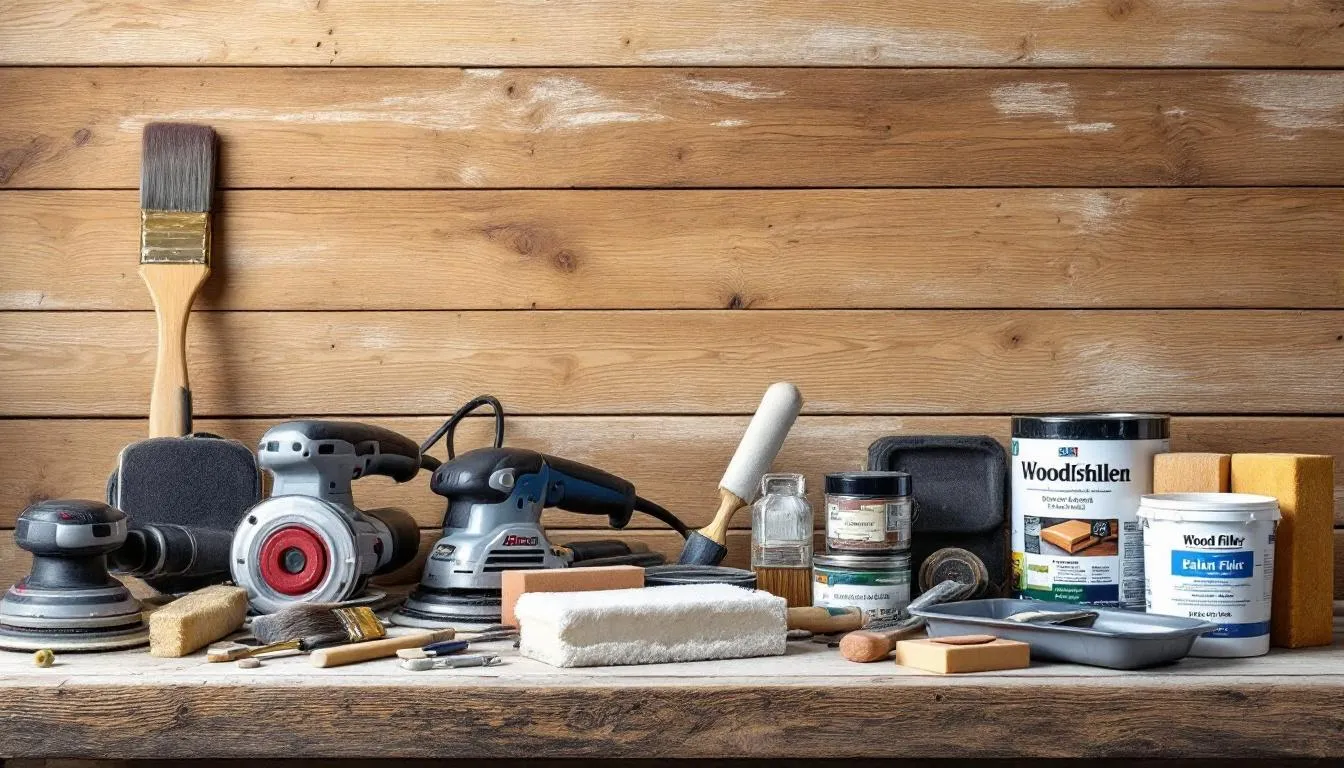
Before starting the refinishing process, gather the necessary tools. Using the right tools and preparing properly can significantly improve the quality of your refinishing projects, resulting in professional-looking outcomes. Always prioritize safety by using gear such as a respirator mask, safety glasses, and gloves to protect against dust and chemicals.
Your toolkit should include essentials like:
A range of tools will equip you for various repairs and refinishing tasks:
These tools are crucial for repairing damaged areas and achieving a flawless finish. Once you have the right tools, you can begin preparing your furniture for refinishing.
Proper preparation of your furniture is crucial before beginning the actual refinishing. This step is necessary to avoid damage and achieve a professional-looking surface. Begin by cleaning and stripping old finishes, then repair any damaged areas—you may need to fix minor issues to ensure the best results. Thorough wood preparation is essential for an effective finishing process, so take your time.
Organizing your workspace and using the right tools can make the refinishing process smoother and more efficient. Ensure your surfaces are clean and free from old finishes for proper adhesion and optimal appearance of the new finish.
Now, we’ll cover the specifics of cleaning, stripping, and repairing your present covered furniture to sell this fall.
Removing old finishes is a key step in the refinishing process. Consider the following to address scratches and marks :
Be thorough to ensure no remnants of the old finish remain, as they could interfere with the new finish. Once the old finish is removed, you’re ready to move on to replacing any damaged areas of the furniture.
Fixing damaged areas is necessary for a flawless final look. Wood glue can bond broken parts securely when clamped. Use filler materials to restore damaged wood by filling in cracks or holes, and address any scratches to ensure a flawless finish.
Clamps are essential for holding pieces together while adhesive or filler cures, ensuring proper setting. Fixing these fixed issues enhances the durability and aesthetic appeal of your refinished furniture.
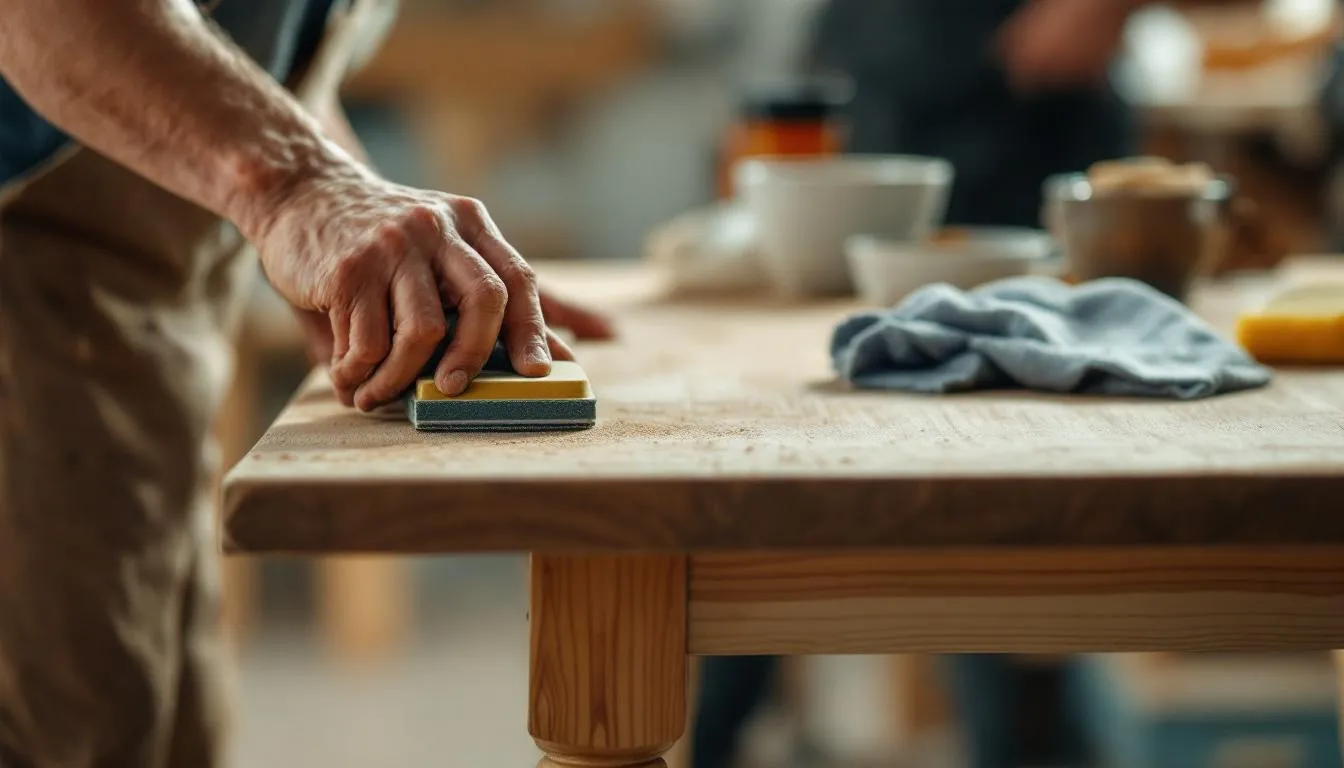
Sanding is crucial for achieving a smooth, professional finish. An electric sander can significantly reduce sanding time, making it essential for large surfaces. Use a shop vac or dust extractor to manage dust during sanding, ensuring a cleaner workspace and better visibility.
Regularly clean your sandpaper to remove buildup and prolong its effectiveness. A rubber abrasive cleaning stick can extend the lifespan of your sandpaper and maintain a smooth sanding process.
Sanding techniques vary with floor surface shape; we will explore effective methods for both flat and curved areas. These methods are especially useful when refinishing a table with curved edges or cutouts.
An orbital sander is ideal for large, flat surfaces. It:
Frequently vacuum up the dust to keep the surface clean and ensure an even sanding job. This attention to detail will result in a smoother, more professional finish.
Hand sanding is necessary for intricate details and corners that power tools can’t reach. Hand sanding blocks and micro detail sanders offer better control and accuracy, ensuring a smooth finish on curved surfaces.
Flexible sanding pads and sponges are effective for tight curves and profiles, adapting well to the shape without causing damage. This technique maintains the delicate shapes and details of your furniture, resulting in a beautifully refinished piece.
After sanding, move your head around to inspect the surface for any marks rom different angles and ensure an even sanding job.
Applying the matte finish is when your hard work starts to pay off. The right apply finish enhances the aesthetic appeal of your furniture while providing complete security, protected durability, and protection. Once everything is finished, you can truly appreciate the guaranteed sense of the results in painting.
Note: Before applying the finish, carefully inspect the surface for dust or imperfections to ensure the best possible outcome.
Choosing the right type of finish and applying it correctly ensures the best results. This section will guide you through the process, from choosing between oil-based and water-based finishes for wood to applying the first coat and building up multiple coats.
The right finish can significantly impact the final look and durability of your furniture. Oil-based finishes offer a richer, more durable appearance but require longer drying times than water-based options. They also give the wood a warm amber tint, enhancing its natural beauty.
Water-based finishes dry quickly and have a lower odor, making them more convenient for indoor projects. However, they may require more coats to achieve the same level of protection as oil-based finishes. If you are working with pine, keep in mind that pine wood can look plain or boring with just a clear finish, so consider using a stain or special technique to enhance its appearance. Choosing between these options depends on your specific needs and preferences when considering a wet water based finish or paint .
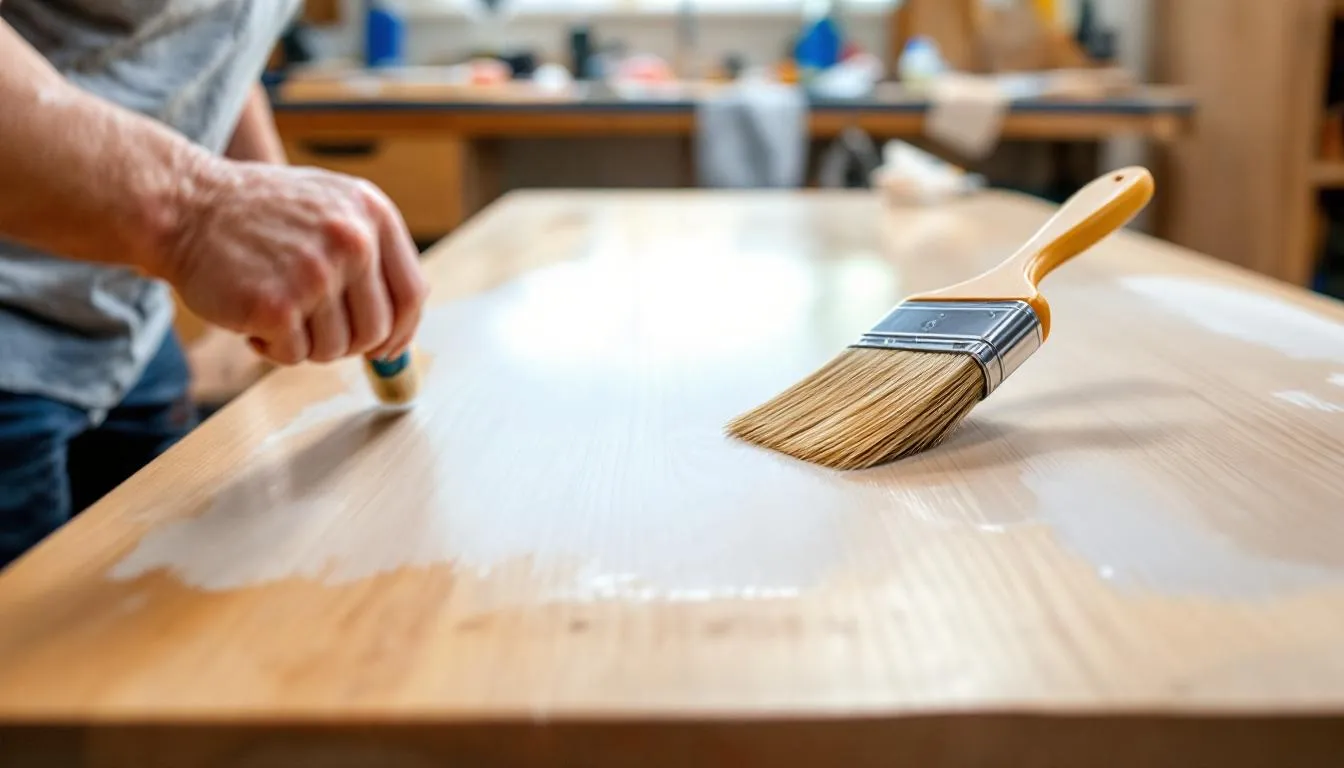
To apply the first coat of finish:
Allow adequate drying time as per the finish manufacturer’s guidelines before you wait to apply additional coats. This patience results in a smooth, professional-looking finish.
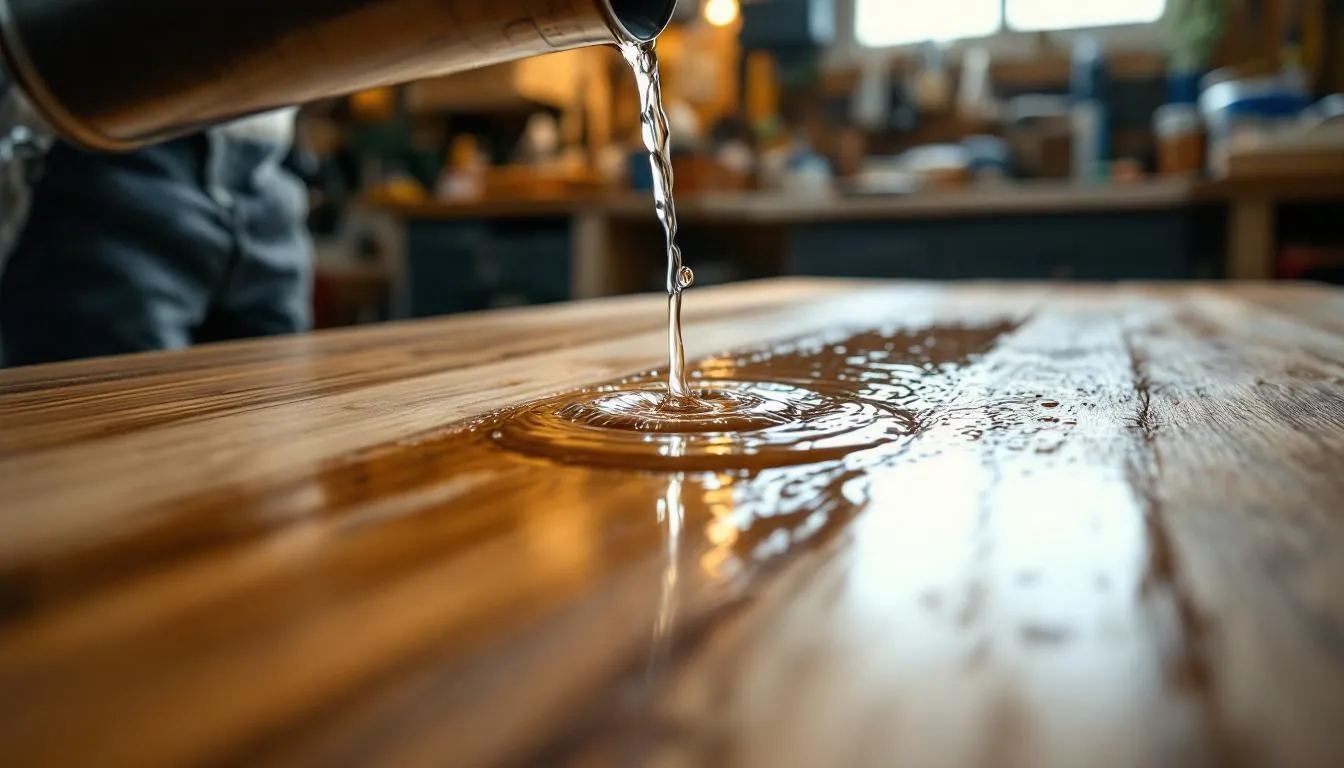
Applying multiple coats is crucial for a durable and rich final finish. Apply multiple thin coats of varnish, allowing each layer to dry completely before adding the second coat. This method enhances the depth of color and provides better protection for the wood.
Products like marine varnish add extra durability and visual appeal, especially for surfaces subject to wear. Regular cleaning and avoiding excessive moisture help preserve the beauty of your refinished furniture.
Beyond the basic steps, several tips and tricks can enhance your refinishing project. Proper application of finishes can greatly enhance the aesthetic and durability of your furniture. Building multiple coats is essential for a deeper color and greater durability in the final finish. Remember to protect nearby walls from dust and splatters during the refinishing process to keep a homeowner's interior looking clean.
Personal touches like lining drawers with decorative paper can elevate the overall look and add a unique flair to your furniture. Here are two specific tips: using water to preview clear finishes and extending the life of your sandpaper.
Applying water to the wood surface helps visualize how a clear finish will affect the color and grain before the actual stain is applied. This technique temporarily darkens the wood, providing a preview of the final appearance with a clear coat, making it easier to choose the right dark finish.
This simple example tricky can save time and effort by helping you decide on the perfect familiar finish before application. A little wondering skip prepare can go a long way in achieving the desired results, so don’t let worry hold you back. If you respond to the process thoughtfully, you can enhance your outcomes.
To extend the life of your sandpaper:
Gently tap sandpaper lightly against a hard sand block surface to dislodge blocked debris, and use a soft brush to clean it regularly.
Store sandpaper in a cool, dry place to prevent moisture damage and prolong its usability. These practices keep your sanding tools in top condition throughout your refinishing projects.

After all the hard work, reassemble your furniture and admire the transformation. A power drill simplifies the process of reassembling furniture and changing hardware; make sure all fixtures and hardware are properly installed for stability and appearance. Carefully return each part to its original position to ensure a proper fit, as mismatched pieces can cause assembly issues.
Labeling and photographing disassembled parts prevent confusion and make the reassembly process smoother. Once everything is reassembled, take a moment to appreciate the fruits of your labor. There’s nothing like the satisfaction of completing a refinishing project and seeing the beautiful results of your effort.
Refinishing furniture is a rewarding endeavor that breathes new life into old pieces. By carefully preparing, sanding, and applying finishes, you can transform your furniture into stunning, durable works of art. The key steps include gathering the right tools, preparing the surfaces, sanding, choosing the appropriate finish, and applying it correctly.
Remember to take your time with each step, as careful execution will yield the best results. Whether you’re a seasoned DIY enthusiast or a beginner, following these guidelines will help you achieve professional-looking finishes. Let your creativity shine and enjoy the process of turning your furniture into masterpieces that you’ll be proud to showcase.
You'll definitely want to use a respirator mask, safety glasses, and gloves to keep yourself safe from dust and harmful chemicals while refinishing furniture. Staying protected is key!
Choosing between oil-based and water-based finishes often comes down to your desired look and drying time. If you want durability and a richer finish on your floor , go for oil-based; if quick drying and lower odor are priorities, then water-based is the way to go.
The best way to remove old finishes from furniture is by sanding with the right grit sandpaper; start coarse to tackle imperfections, then switch to finer grits for a smooth finish. This method gives you great control and leaves your furniture ready for a fresh start.
To achieve a smooth finish when applying varnish, always use multiple thin coats and let each layer dry completely before adding the next. Don't forget to follow the wood grain with a quality brush or sprayer for the best results!
To extend the life of your sandpaper, use the right grit for the job and avoid pressing too hard while sanding. Regularly cleaning it with a soft brush and storing it in a cool, dry place will also help keep it in good shape longer.


Get Started
Our team can help with product selection, sizing, and specification — at no charge.


