My shopping cart
Your cart is currently empty.
Continue Shopping
Repairing a broken interior door frame is straightforward with the right steps. This guide will explain how to repair a broken interior door frame, covering cracks, warping, and severe damage.
Start by listing some forbidden forms of the keyword “wood rot” according to the rule 5. Then, find out if there’s a chance to incorporate the keyword without making any extra assumptions, according to the rule 2. Keep it short.
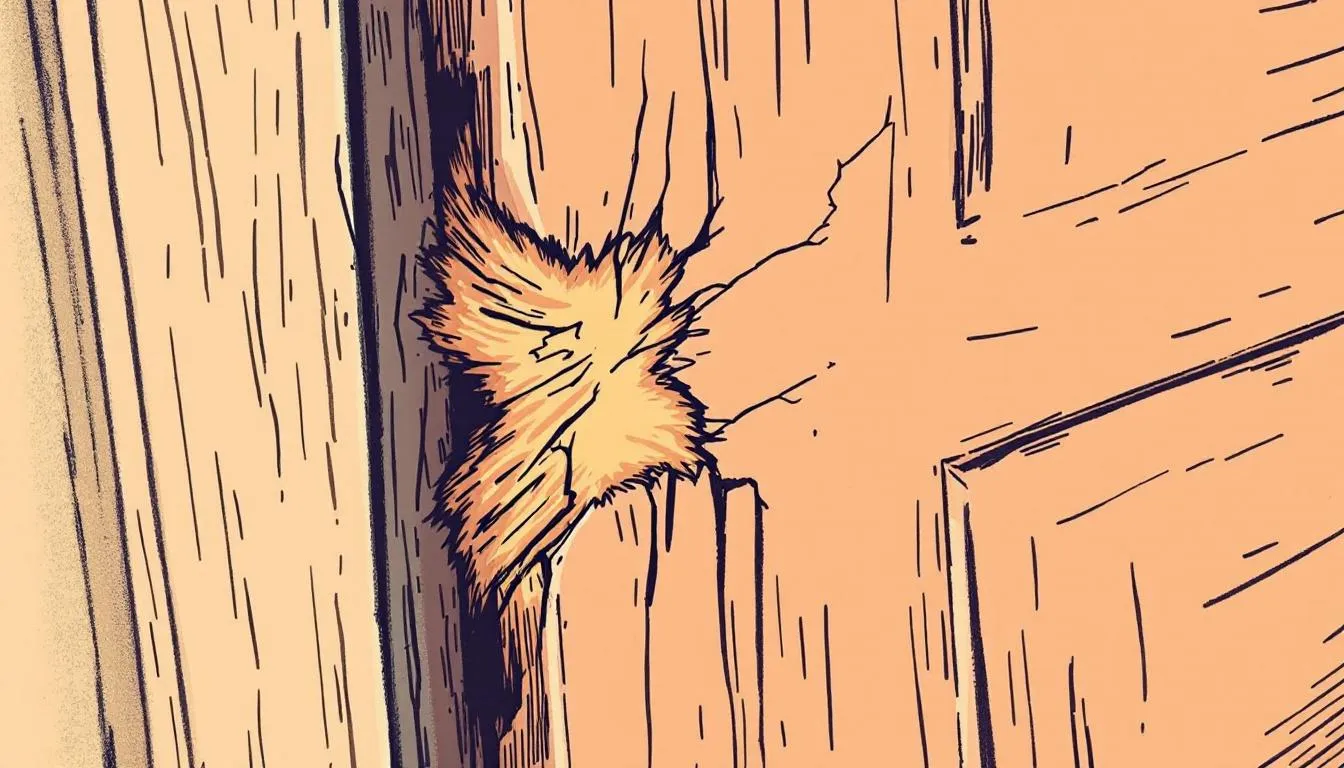
Start by identifying the type and extent of the damage to the door frame. Physical damage is often marked by visible signs like cracks, dents, or splintering. These issues can be caused by impacts, wear and tear, or even poor installation. Water damage, on the other hand, manifests through warping, discoloration, or signs of wood rot in the damaged portion. This type of damage is common in areas with high humidity or where there are leaks.
Termite damage is another serious issue to look out for. It is typically identified by hollowed areas or tiny holes within the frame. In some cases, the misalignment of the door with the frame may indicate more serious structural damage. Regular inspections of door frames can help catch and address minor issues before they escalate into more extensive repairs.
Determining the nature and severity of the severe damage will guide you to the appropriate repair method to fix the issue. Whether it’s a minor crack or significant structural damage, identifying the problem accurately will guide you in choosing the right tools and techniques for the job.
Equipping yourself with the right tools and materials ensures an efficient repair process. Key tools include:
Additionally, a pry bar and wood filler are indispensable for addressing various types of damage. These tools will help you accurately measure, cut, and secure the materials needed for the repair.
Materials such as epoxy wood filler, wood glue, and wire mesh are necessary. These materials are crucial for filling cracks, reinforcing weak areas, and ensuring a solid repair. Wood filler is used to fill minor cracks and holes, while epoxy wood filler is ideal for more extensive repairs. If you need to reinforce the area around the strike plate, consider having additional hardware such as metal brackets or plates. For extra stability, you may also need long screws to secure the frame to a wall stud during repairs. Having these tools and materials on hand will make the repair process smoother and more efficient.
Properly preparing the area is the first step before repairing the damaged door frame. Remove the door from its hinges to access the entire door frame more easily. Carefully remove any surrounding molding using a utility knife or pry bar.
Once the door and molding are removed, survey the damaged door frame area. Mark any blemishes and ensure the surface is clean and free of debris. Proper preparation ensures that the repairs adhere properly and result in a smooth, professional finish.
Repairing cracks and minor damage in a door frame is straightforward. Follow these steps:
Mix the epoxy wood filler according to the manufacturer’s instructions.
Apply the wood filler generously to the damaged area, ensuring it is level with the door frame.
Smooth out the filler and fill the damaged area completely using a putty knife. Then, run a blade flush across the surface to remove any excess filler and achieve an even finish.
Let the wood filler cure completely before moving to the next step. This may take several hours, depending on the product used. After the filler has hardened, smooth the repaired area with 150 to 200 grit sanding paper. Fine-grit sandpaper can help achieve a smooth finish on the repaired surfaces, ensuring the area is flush with the surrounding frame.
If needed, apply additional coats of wood filler and sand between each layer until the surface is smooth and even. This will ensure that the repaired area blends seamlessly with the rest of the door frame, preventing further damage and maintaining the frame’s structural integrity.

Addressing water damage, a common cause of warped door frames, requires more effort. Here are the steps to help straighten a warped door frame:
After straightening the frame, check the alignment between the door frame and the wall. Use shims between the frame and wall if needed to ensure a proper fit.
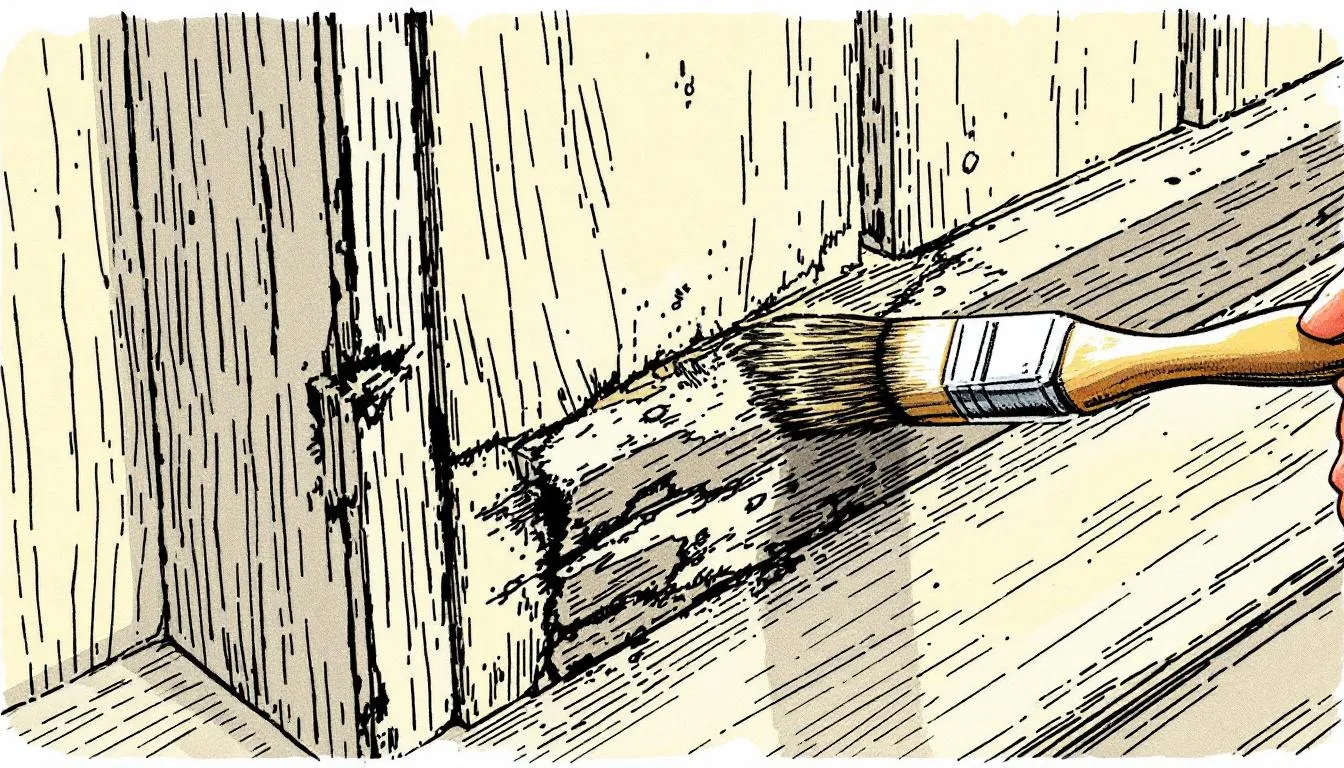
Apply a water-resistant sealant or paint to protect the door frame from future moisture damage. Regularly inspect the sealant or paint for continuous moisture protection.
Humidifiers or dehumidifiers can help control humidity levels around door frames, preventing moisture-related issues. Additionally, improving ventilation in areas with high humidity can prevent dampness that may damage the door frame.
Wood rot is a serious concern for any door frame, as it can quickly compromise the structural integrity of the entire door frame if left untreated. To address wood rot, start by inspecting the frame for telltale signs such as darkened patches, crumbling or flaking wood, and areas that feel soft or spongy to the touch. Once you’ve identified the damaged area, use a utility knife or chisel to carefully remove all rotted wood, making sure to reach solid, healthy wood beneath.
After removing the affected wood, apply a wood petrifier to the area to stabilize any remaining fibers and prevent further damage. Next, use a two-part epoxy wood filler to fill the void left by the rot. Shape the filler to match the contours of the frame, and allow it to dry completely according to the manufacturer’s instructions. Once the filler is fully cured, sand the area smooth so it blends seamlessly with the rest of the frame.
To prevent future wood rot, ensure your door frame is properly sealed with paint or a water-resistant finish, and address any sources of moisture or leaks around the door promptly. Regularly inspect your door frames for early signs of wood rot to catch problems before they require extensive repairs. By taking these steps, you’ll help maintain the strength and longevity of your door frame.
Replacing damaged sections of a door frame is necessary when the damage is too severe for minor repairs. Start by:
To repair the timber frame:
Metal brackets can add stability to joints and corners of door frames. Corner gussets are also effective for adding stability at 90-degree angles, ensuring better structural integrity.
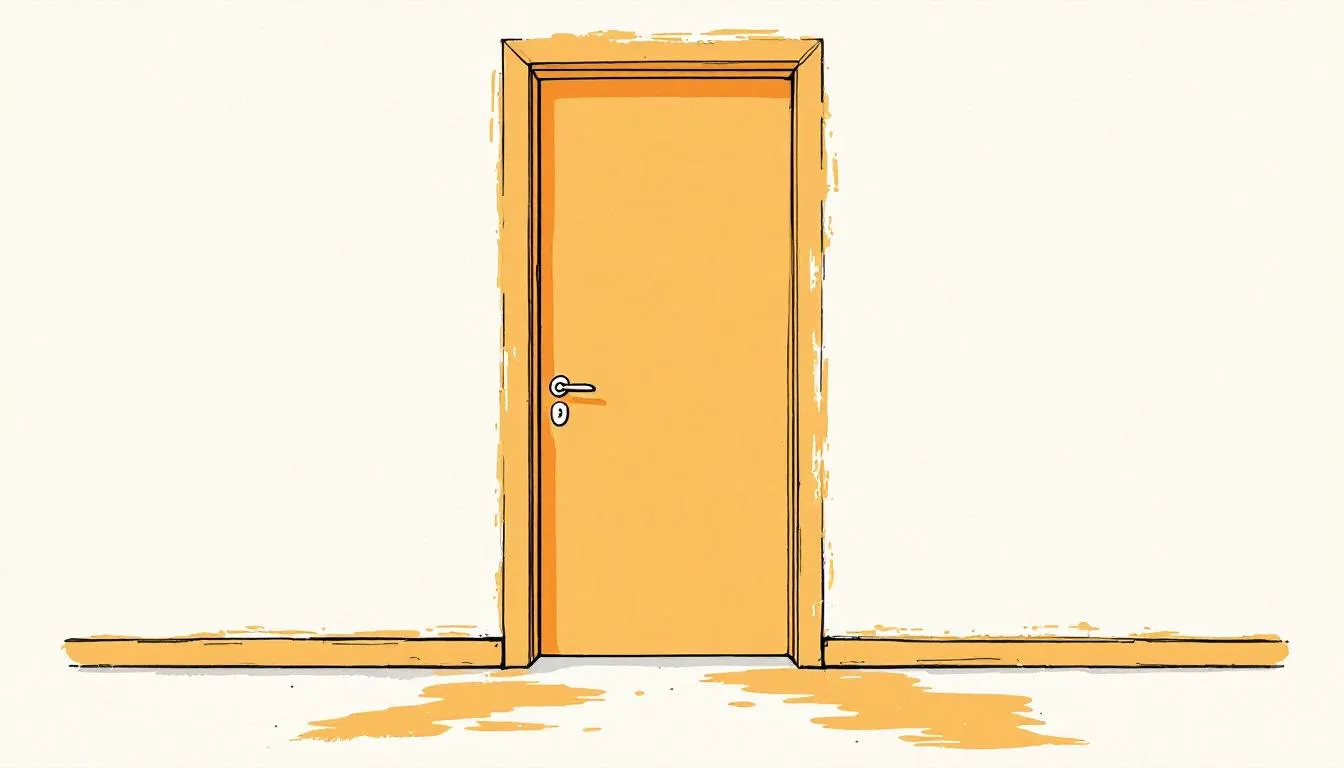
Sometimes, repairing a damaged door frame isn’t enough—especially if the damage is widespread or affects the frame’s ability to support the door. Consider replacing the entire door frame if you notice severe issues such as a warped door frame that cannot be straightened, extensive wood rot that has weakened the structure, or significant structural damage from impacts or forced entry. If the frame is misaligned and cannot be adjusted, or if it’s cracked, broken, or rotten beyond repair, a full replacement is often the most cost-effective and long-term solution.
Replacing the entire frame is also recommended if the door no longer fits properly, or if you’re upgrading to a new door that requires a different size or style of frame. When weighing your options, consider the cost of materials and labor for repairs versus the benefits of installing a new door frame. A new frame can restore security, improve energy efficiency, and enhance the appearance of your door, making it a smart investment when repairs are no longer viable.
Selecting a new door for your interior space involves more than just picking a style you like. Start by measuring the rough opening and the existing frame to ensure the new door will fit perfectly. Consider the material of the door—wood, metal, or fiberglass—based on your needs for durability, maintenance, and appearance. The style of the door should complement your home’s décor, whether you prefer a modern, traditional, or rustic look.
If you’re replacing the entire door frame, make sure the new door is compatible with the frame and existing hardware, such as hinges and latches. Check that the new door’s size matches the opening and that it will swing freely once installed. Don’t forget to factor in energy efficiency and security features, especially if the door will be used frequently. By carefully considering these factors, you’ll ensure your new door enhances both the function and style of your interior space.
Maintaining structural integrity and functionality involves:
These reinforcement techniques ensure that the door frame can withstand daily use and prevent further damage. Addressing weak or loose areas extends the life of your door frame and helps avoid extensive future repairs.
After completing the repairs, reattach the door and molding. Start by ensuring that all hardware, such as hinges and latches, is removed before beginning the reattachment process. Tighten the hinge screws to prevent door misalignment. When reattaching, make sure you are screwing the hinges and latch hardware securely to ensure proper operation. After tightening, check that the latch aligns properly with the strike plate and functions smoothly.
Secure the molding in place with a nail gun, placing nails every 12 inches for a firm hold. Carefully pull nails holding this will ensure that the molding is securely attached and the door frame looks neat and polished.
Reposition the door, ensuring it swings freely and aligns with the open door jamb.
Apply an undercoat to the repaired frame, followed by two coats of enamel paint for a polished finish. Sand between each layer for a smooth and even finish. This will help the repaired area blend seamlessly with the existing frame and provide additional protection against future damage.
Fill any gaps with caulk after securing the molding for a finished look. This will improve the aesthetics of the door frame and prevent moisture from entering the repaired areas.
A well-painted or stained door frame not only looks great but also provides a durable and long-lasting material finish.
Weigh the expenses against the benefits when considering the cost of repairing a door frame. Minor door frame repairs typically cost between $75 and $90. If the damage is extensive, a complete replacement might be necessary, generally costing between $113 and $222.
Labor costs for repairing door frames can range from $30 to $150, depending on the complexity of the work. Repair investments can be cost-effective long-term, avoiding the costs of purchasing and disposing of a new door.
When repairing or replacing a door frame, avoiding common mistakes can save you time, money, and frustration. One frequent error is failing to measure the rough opening accurately, which can result in a door frame that doesn’t fit or align properly. Always double-check your measurements before cutting or purchasing materials.
Another mistake is using the wrong materials, such as opting for nails instead of screws, or not applying enough wood glue to secure joints. This can lead to a weak frame that may not hold up over time. It’s also important to level the door frame during installation; a crooked frame can cause the door to hang unevenly and function poorly.
Rushing through the repair or replacement process can result in misalignment, poor fit, and reduced stability. Take your time to assess the damage, gather the right tools and materials, and follow each step carefully. By avoiding these common pitfalls, you’ll achieve a sturdy, long-lasting repair or replacement for your door frame.
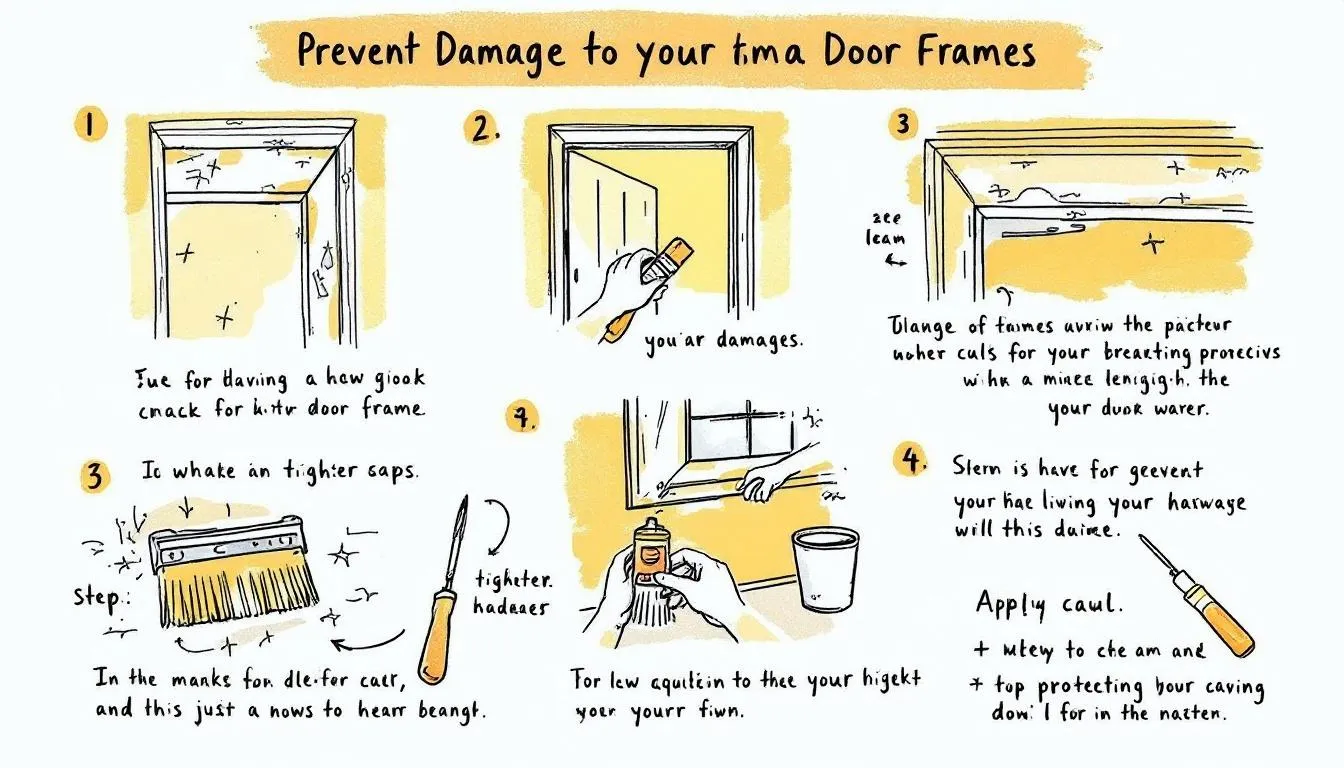
A few proactive steps can help prevent future damage to your door frame. Maintaining stable indoor temperatures can minimize the risk of door frame cracking due to extreme temperature fluctuations. Apply multiple coats of varnish to a flattened warped door to prevent future warping.
Ensure the door swings freely after reattaching it by checking for any obstruction in the frame. Use a shim under the hinge side if necessary for better door alignment.
These preventative measures will help maintain the integrity of your door frame and prevent damage while avoiding further damage.
Repairing a broken interior door frame might seem like a daunting task, but with the right tools, materials, and guidance, it can be a manageable DIY project. By identifying the damage, preparing the frame, and following the steps for fixing cracks, warping, or replacing sections, you can restore your door frame to its former glory. Taking preventive measures will also ensure that your door frame remains sturdy and attractive for years to come.
Spotting water damage early is key to preserving the structural integrity of your entire door frame. Look for visible signs such as water stains, warping, or discoloration on the frame. Press gently on the wood to check for soft or spongy spots, which can indicate moisture has penetrated the surface. Inspect for cracks or gaps that might allow water to seep in, and use a flashlight to examine hard-to-see areas. Musty odors or the presence of mold or mildew are also red flags. For a more precise assessment, use a moisture meter to detect hidden moisture within the door frame. Addressing water damage promptly helps prevent wood rot, further damage, and costly repairs down the line.
Having the right tools on hand is crucial for a successful door frame repair. Essential tools include a pry bar for removing trim, wood filler and epoxy wood filler for patching damaged areas, and hinge screws for securing hardware. You’ll also need a putty knife for applying filler, a utility knife for precise cuts, a tape measure for accurate sizing, and a nail gun for attaching molding or frame sections. Don’t forget wood glue for bonding joints, nails for securing new pieces, and sandpaper for smoothing repairs. Depending on the repair, a saw, drill, or level may also be necessary. With these tools and materials, you’ll be well-equipped to repair, replace, or reinforce your door frame and prevent further damage.
To identify water damage on a door frame, look for warping, discoloration, or any signs of rot. These indicators point to moisture issues that need to be addressed promptly.
To effectively repair a door frame, you will need a utility knife, putty knife, tape measure, nail gun, and pry bar. These tools are fundamental for ensuring a proper and efficient repair process.
To fix a minor crack in a door frame, apply epoxy wood filler to the damaged area, allow it to cure, and then sand it smooth for a seamless finish. This simple approach will restore the integrity of your door frame effectively.
Repairing a door frame typically costs between $75 and $90 for minor repairs, while a complete replacement can range from $113 to $222. It's essential to assess the extent of the damage to determine the most appropriate solution.
To prevent future damage to your door frame, maintain stable indoor temperatures, apply varnish to prevent warping, and ensure the door swings freely. These steps will help preserve the integrity of your door frame over time.


Get Started
Our team can help with product selection, sizing, and specification — at no charge.


