My shopping cart
Your cart is currently empty.
Continue ShoppingInstalling a new door jamb is a relatively simple and straightforward process, but what about removing one? Whether you're looking to replace an old or damaged door jamb or simply want to change the style of your doorway, knowing how to properly uninstall a door jamb is essential.
In this article, we'll walk you through the steps of safely and effectively removing a door jamb from your doorway. We'll also provide tips on how to avoid potential hazards and troubleshoot any issues that may arise during the process.
By learning how to uninstall a door jamb, you'll have the knowledge and confidence to tackle your home improvement projects with ease. So let's scroll for details and learn the ins and outs of removing a door jamb in this comprehensive guide.

Before we dive into the uninstallation process, it's important to understand what a door jamb is and its purpose. A door jamb, also known as a door frame, is the vertical portion of the doorway that surrounds and supports the door. It consists of three parts: two side jambs and one top jamb.
The side jambs are attached to the wall on either side of the doorway, while the top jamb is placed horizontally above the doorway. Together, these components provide stability for the door and help keep it aligned within the frame.

Now that we have an understanding of what a door jamb is, let's go through the show transcript steps of removing it. Keep in mind that the specific process may vary depending on the type and material of your door jamb, so be sure to consult manufacturer instructions if available.
Before beginning the uninstallation process, it's important to prepare your work area. Start by clearing any clutter or obstacles near the doorway to ensure you have enough space toAn error occurred during generation. Please try again or contact support if it continues work. This will also prevent any potential tripping hazards or damage to surrounding items.
Next, lay down a drop cloth or protective covering on the floor near the doorway to catch any debris that may fall during the removal process. It's also a good idea to cover nearby furniture and surfaces with plastic sheeting or blankets to protect them from dust and scratches.
To successfully remove a door jamb, you'll first need to remove the door from its hinges. This will make it easier to access and handle the door jamb itself without any obstacles.
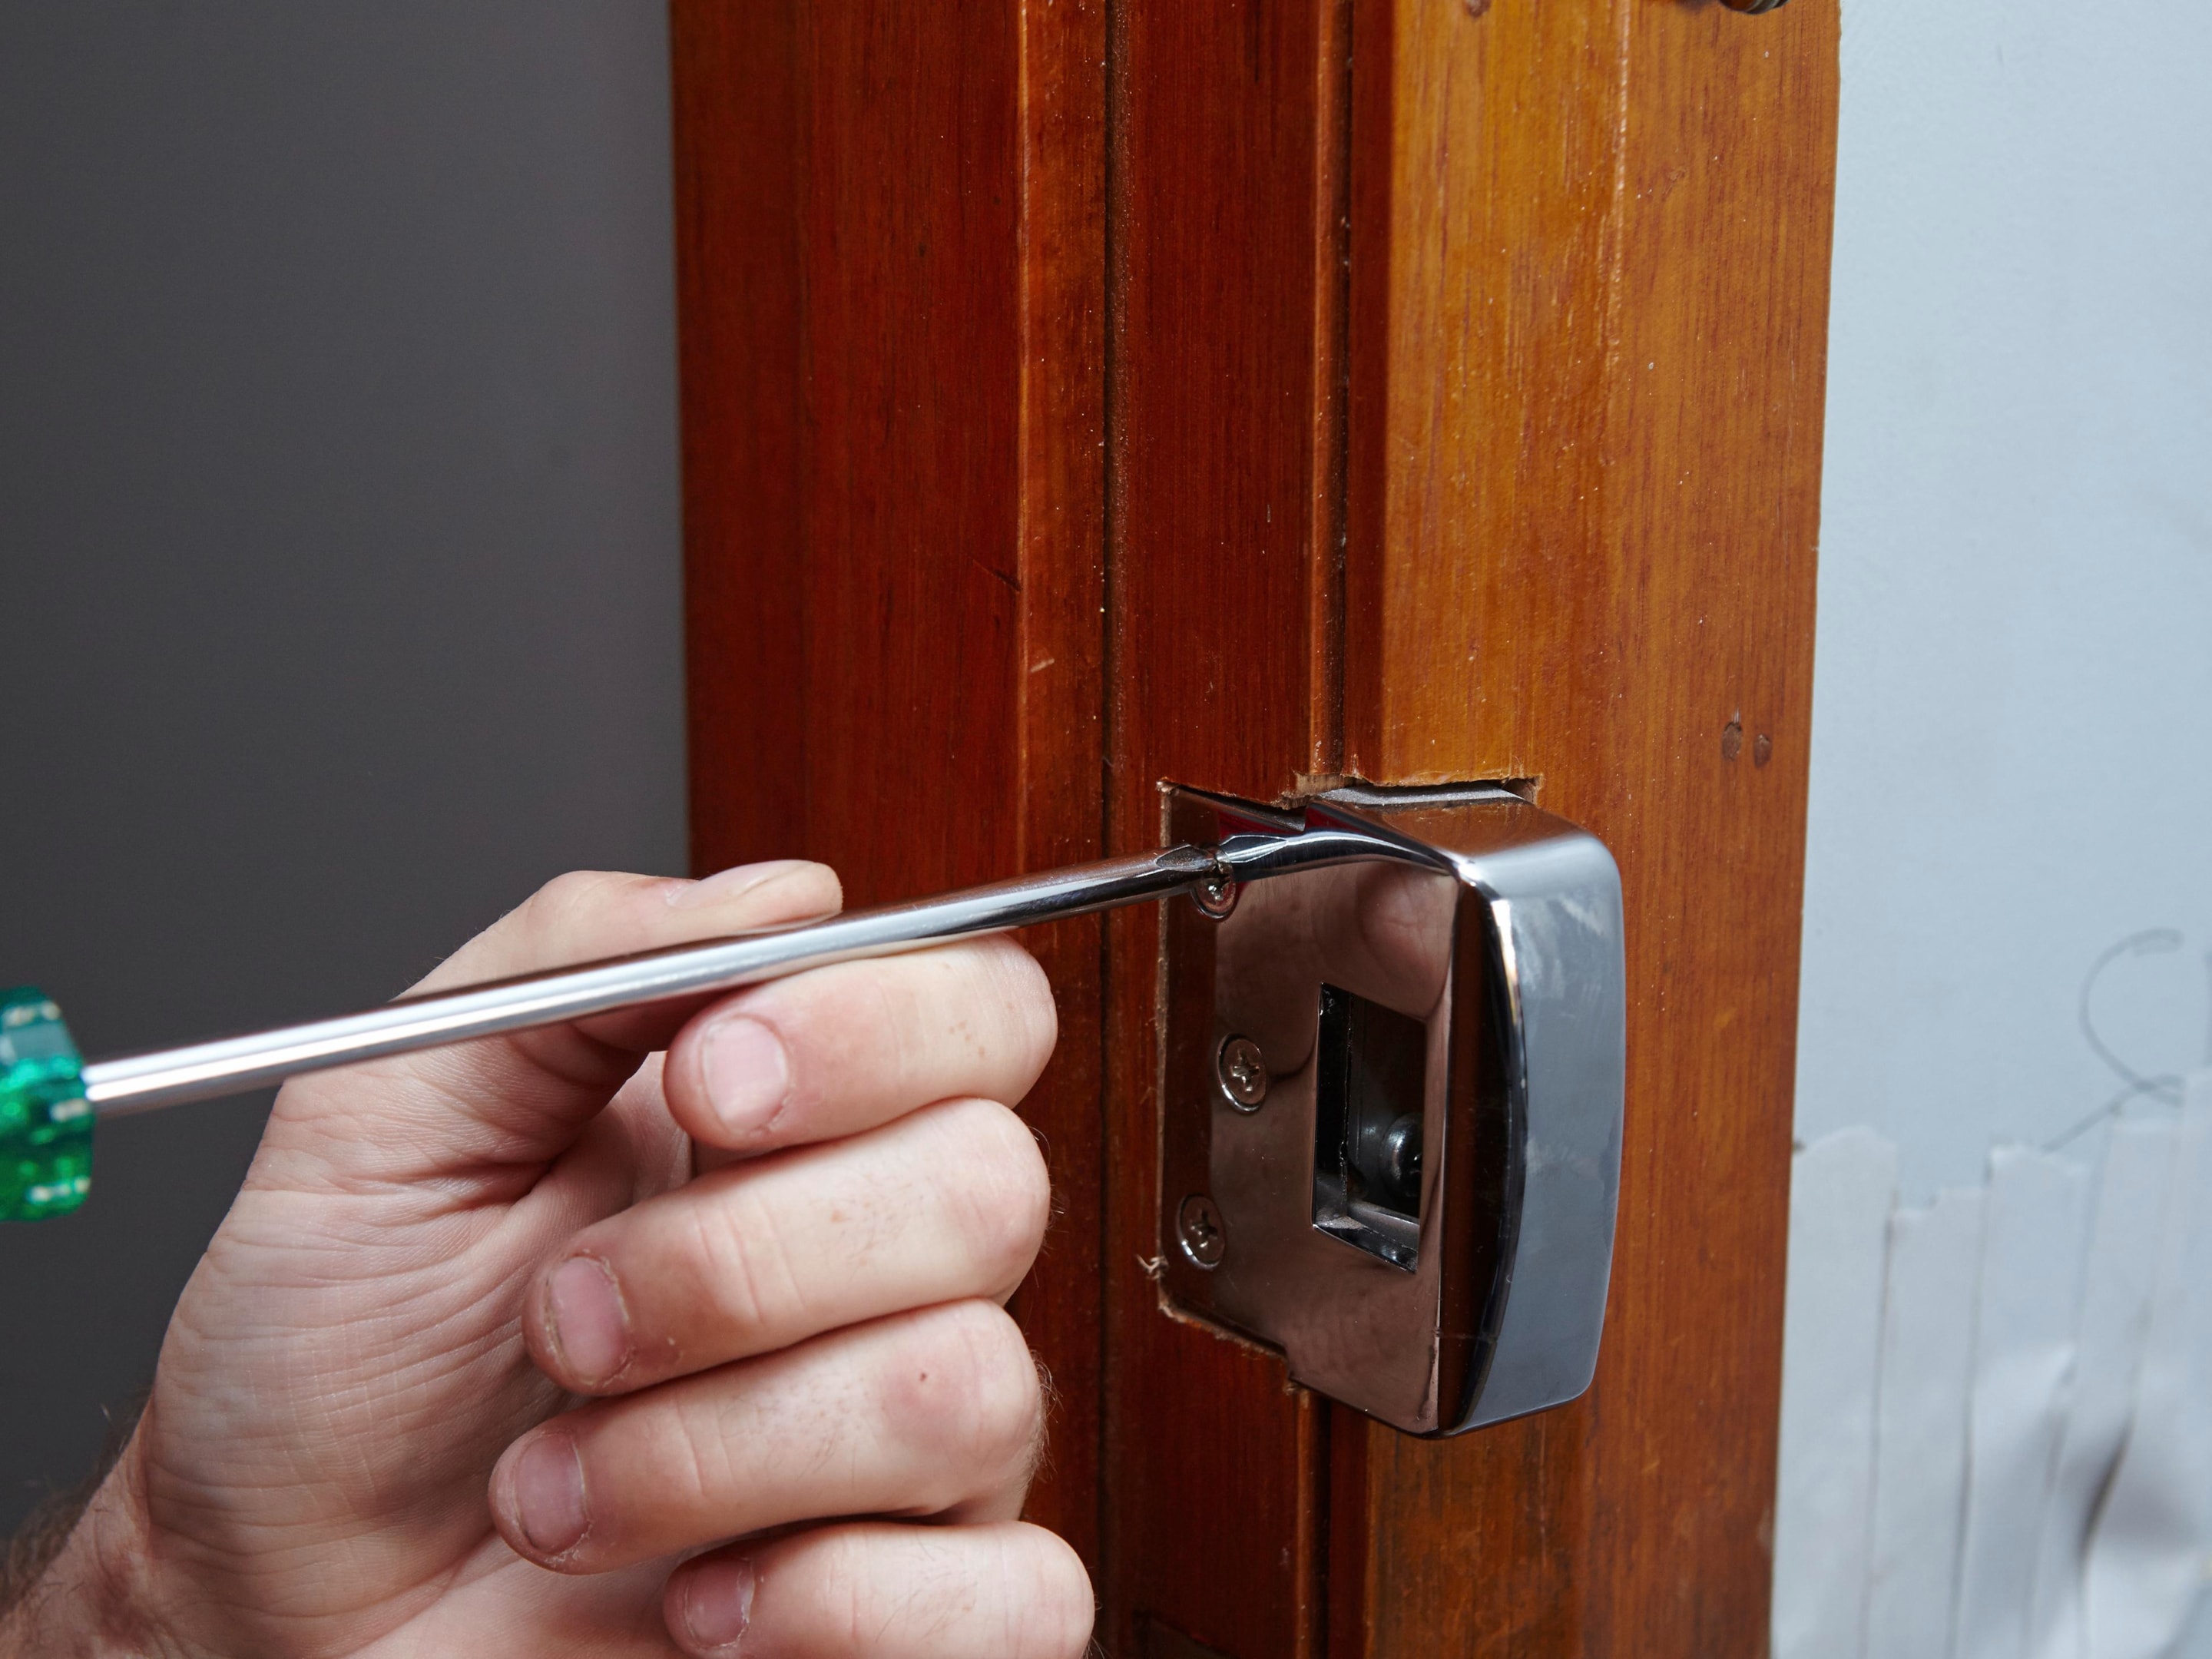
Start by opening the door and placing a support block underneath it to prevent it from falling. Then, using a screwdriver or drill, loosen and remove the screws from the top hinge of the door. Repeat this process for the remaining hinges until the door is completely detached.
As mentioned earlier, there are different types of door jambs, including wood, ray id, metal, and composite. Each type may require a slightly different removal process. For example, wood jambs may be attached with nails or screws, while metal jambs may have welded joints.
Take a closer look at your door jamb and determine its material and how it's attached to the wall. This will help you select the appropriate tools and techniques for removing it safely.
Once you've identified your door jamb type, gather all the necessary tools and materials for the removal process. These may include:
Pry bar or hammer
Screwdriver or drill
Utility knife
Hammer and nails or screws
Protective gear (gloves, safety glasses, etc.)
It's always better to have all the tools on hand before starting the removal process so you don't have to pause midway to search for missing items.
Trim pieces are decorative molding attached to the door jamb that add a finishing touch to your doorway. Before you can remove the door jamb, you'll need to take off these trim pieces first.
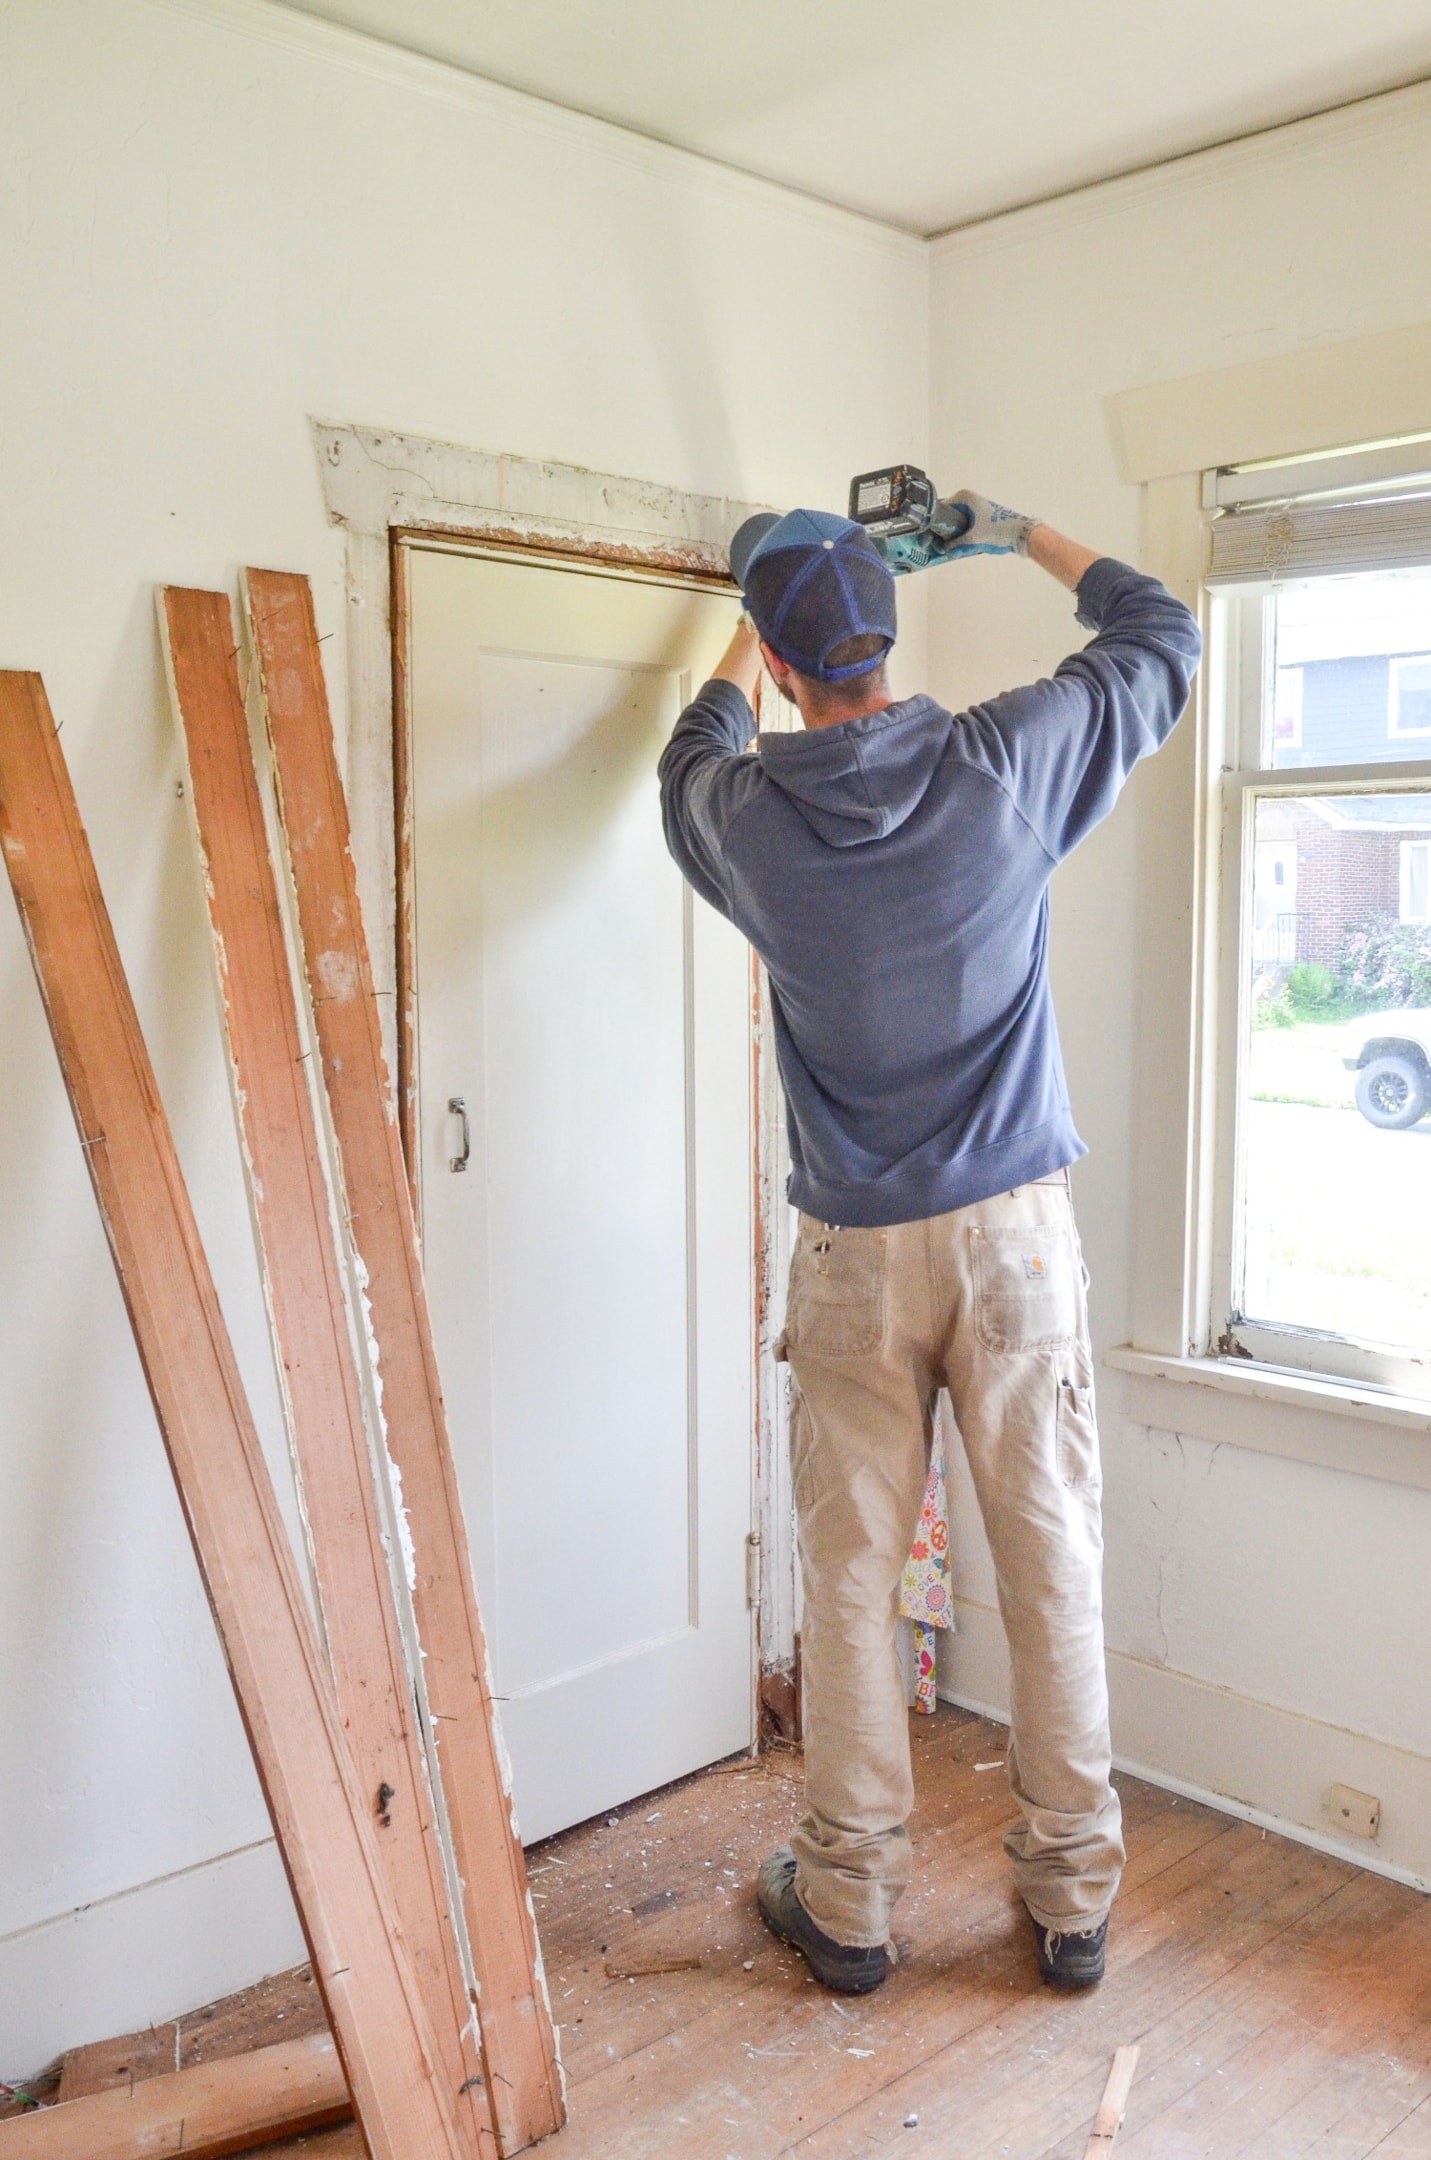
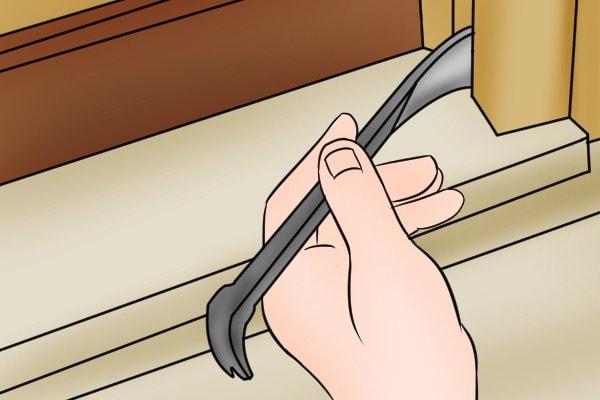
Using a utility knife or pry bar, carefully detach the trim from the wall. Be gentle and work slowly to avoid causing damage to the surrounding walls and molding. You may also need to remove any caulk or adhesive that's securing the trim in place.
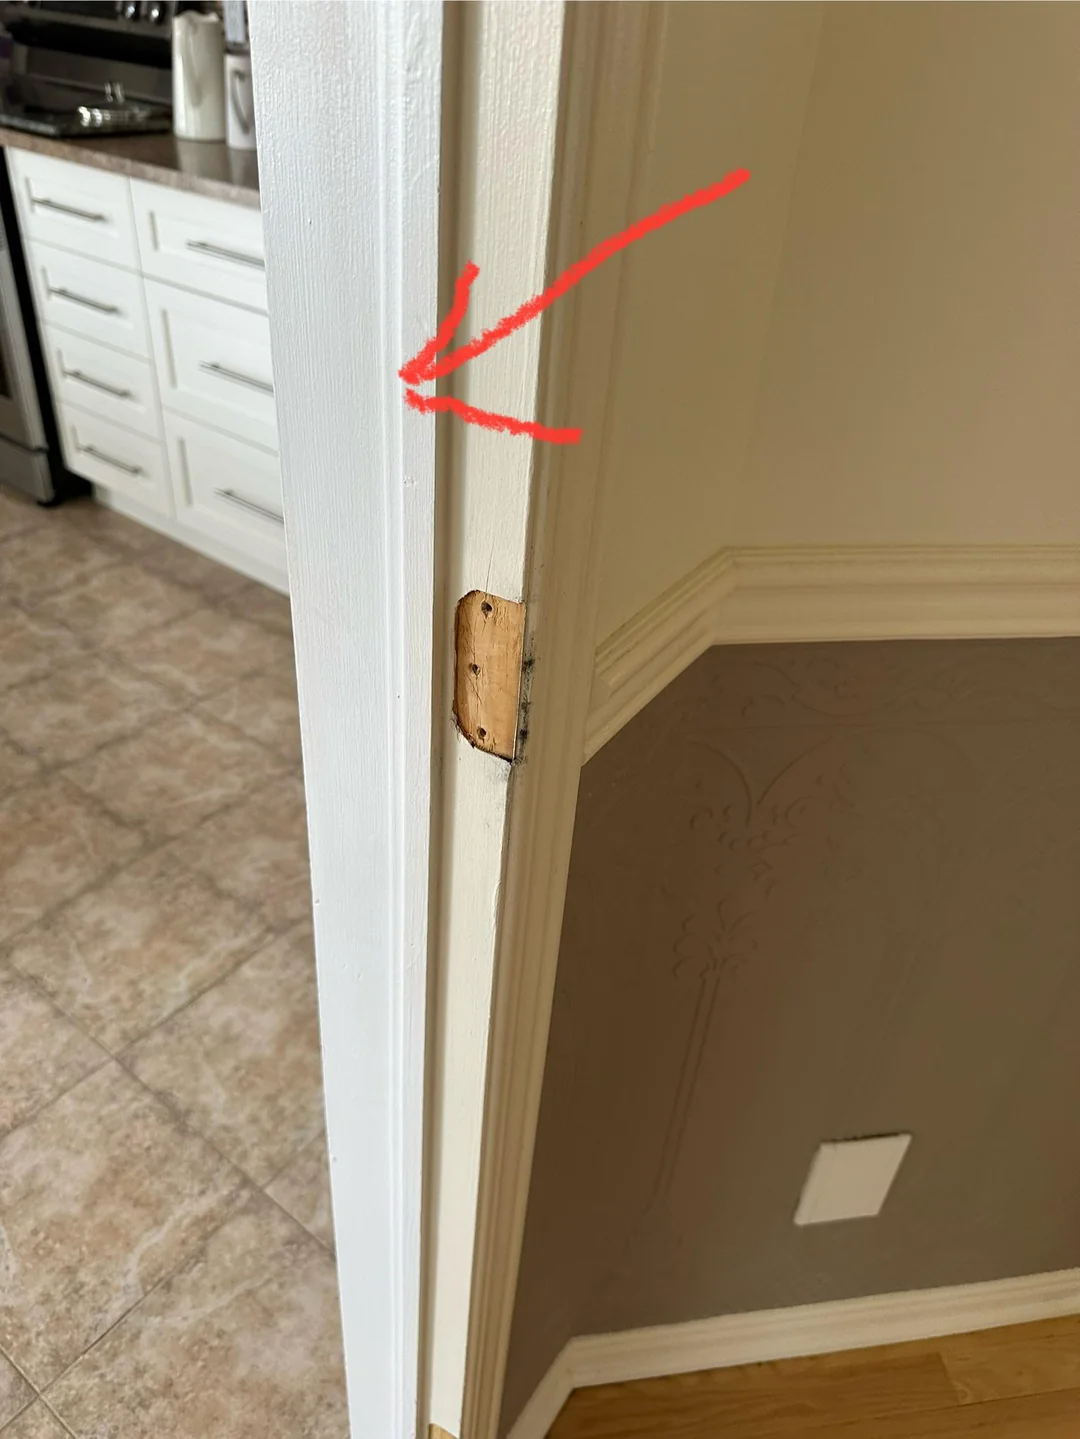
Next, you'll need to remove any fasteners that are holding the door jamb in place. This could include screws, nails, or even staples depending on how the jamb was installed. Use a screwdriver, drill, or hammer and pry bar to carefully remove these fasteners.
If the door jamb is attached with screws, be sure to start from the top of the jamb and work your way down. This will help prevent any potential damage or misalignment to the frame as you remove each fastener.
With all the fasteners removed, it's now time to gently pry away the door jamb from the wall. Start at one corner and use a pry bar or hammer to slowly loosen and remove the jamb from the wall. Be careful not to apply too much force or you may risk damaging the surrounding walls.
If needed, you can use a utility knife to cut through any remaining caulk or adhesive that's holding the jamb in place. Continue working around the jamb until it's completely detached from the wall.
Once the door jamb is removed, you may notice some marks or holes on your walls where it was attached. Use spackling paste to fill in any gaps or holes and then sand down the area for a smooth finish. You can also touch up any paint if needed.

The amount of time it takes to remove a door jamb will depend on various factors such as the type of jamb, its material, and any complications that may arise during the process. On average, it can take anywhere from 30 minutes to an hour to remove a standard wooden or composite door jamb.
However, if you encounter any difficulties or have limited experience with DIY projects, it may take longer. It's always best to allocate enough time for the removal process and work at a steady pace to avoid making mistakes or causing damage.
While removing a door jamb may seem like a straightforward process, there are some potential hazards that you should be aware of. These include:
Sharp edges or nails on the jamb that can cause injury
Heavy doors that can fall and cause injury
Electrical wiring or plumbing behind the jamb that may be damaged during removal
Damage to surrounding walls and surfaces from tools or debris
Difficulty removing fasteners due to rust, corrosion, or stripping
Misalignment of the door frame when reinstalling it.
To minimize these potential hazards, always wear appropriate protective gear and work carefully. If you encounter any issues while removing your door jamb, consult manufacturer instructions or seek professional help if needed.

In most cases, you can reinstall the same door jamb after it has been removed. However, this will depend on the condition of the jamb and how it was attached to the wall.
If the jamb is still in good condition and can be reattached securely without any issues, then it can be reinstalled. However, if there are any damages or defects that may affect its stability or functionality, it's best to replace the jamb with a new one.
Before reinstalling your door jamb, make sure to thoroughly clean and prepare both the jamb and wall surfaces for a secure fit. You may also need to adjust hinges or trim pieces as needed for proper alignment.
Finding the right doors for your home can be a challenge, but with My City Doors, it's never been easier. Our company offers a wide range of high-quality and stylish interior and exterior door options to fit any style or budget.
With our extensive collection ranging from swing doors to barn doors, bypass doors to patio doors, we have something for every room in your home. Not only do we provide top-notch products, but our team also offers excellent customer service and installation help to ensure that you are completely satisfied with your purchase.
At My City Doors, we pride ourselves on being a one-stop-shop for all your door needs. From modern European interior doors to traditional and classic designs, we have the perfect door to complete your home. Search with your voice My City Doors for all your door needs and experience quality, style, and exceptional service. So why wait? Visit us online or in-store at our showroom today!
Hinge pins are essential for allowing doors to pivot smoothly. They hold the door on the hinge and enable its movement.
Verification is simple: check for smooth door movement and no resistance. If the door sticks or squeaks, the hinge pin might need attention.
Yes, you can use voice search to find specific connection hinge pins or related products through compatible devices or apps.
The hinge side is the vertical edge of the door where the hinges are attached, allowing it to swing open and closed.
To install a new door, align the hinge pins with the hinge side of the door and secure them. Make sure the door swings properly before fully tightening.
Removing a door jamb may seem overwhelming, but with the right tools and techniques, it can be a simple DIY project. Make sure to prepare all necessary tools and materials before starting, take your time to avoid mistakes and potential hazards, and follow these steps for a successful removal process.
And don't forget about My City Doors for all your door needs - from selection to installation, we've got you covered. Happy renovating! So why wait? Visit us online or in-store at our showroom today!
Happy renovating!