My shopping cart
Your cart is currently empty.
Continue Shopping
Every month, the average American home loses $50-150 through invisible air leaks that cost less to fix than a family dinner out, including adjustments to your water heater. Hot water usage is a significant contributor to energy costs, and addressing hot water inefficiencies is an essential part of the 300 fix strategy. If your energy bills keep climbing despite your best efforts to save energy, the problem isn’t just your hvac system working overtime—it’s the countless tiny gaps bleeding warm air and cold water into the void.
The 300 fix represents a strategic approach to prevent drafts and cut energy bills fast without expensive upgrades or professional installation. This proven method targets the most critical energy efficient upgrades that deliver immediate results, often reducing household energy usage by 15-25% within the first month.
Unlike complex home energy audit recommendations that require thousands in upfront costs, the 300 fix focuses on simple sealing air leaks that many homeowners can complete in a single weekend. The best part? Most devices and materials pay for themselves through lower energy bills within eight hours of a typical heating season.
The 300 fix represents strategic home improvements costing around $300 that can reduce energy consumption by 15-25% within 30 days. This approach focuses on draft prevention through targeted weatherstripping, caulking, door sweeps, and electrical outlets insulation—the most cost-effective ways to stop wasting energy.
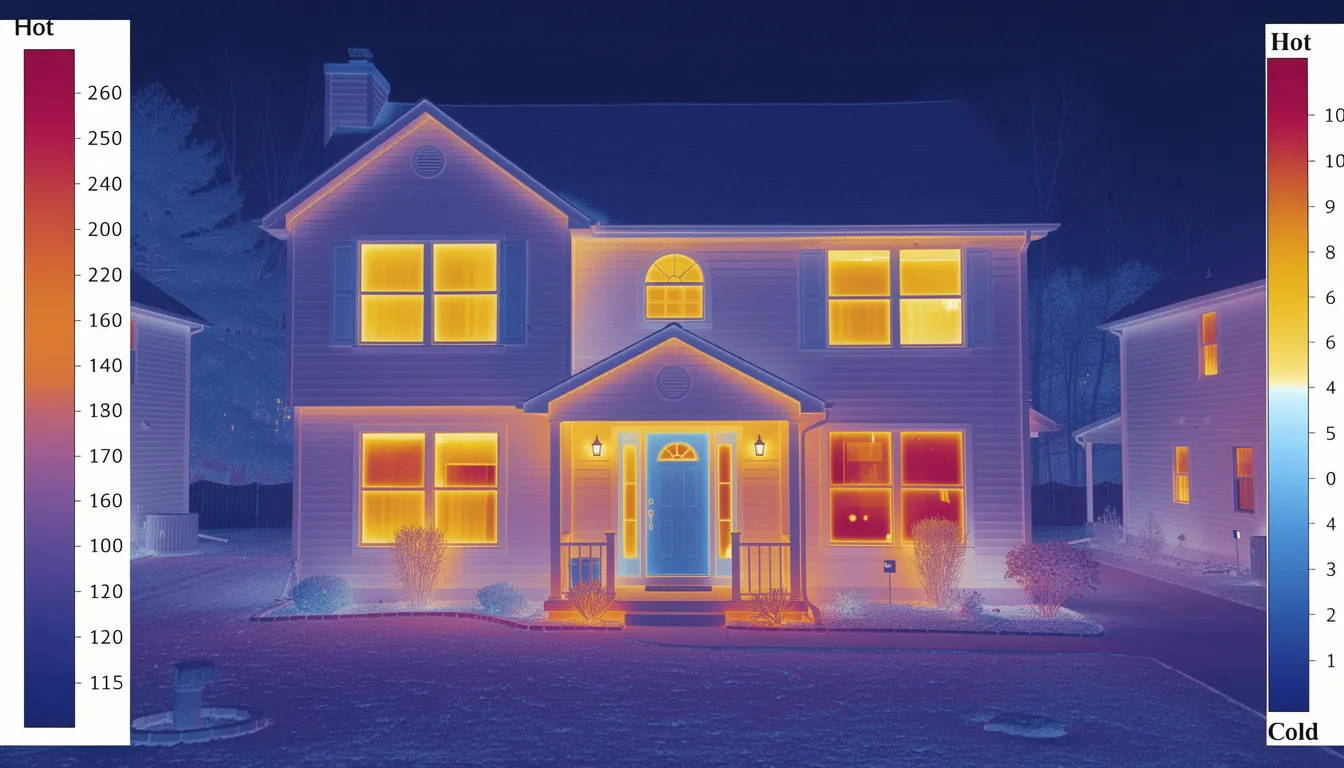
These low-cost improvements target the biggest energy wasters: air leaks around windows, doors, and electrical outlets. According to the U.S. Department of Energy, air leaks account for 25-40% of heating and cooling energy losses in typical homes. By sealing these gaps systematically, most homeowners see payback within 6-12 months through lower heating costs and cooling costs.
The strategy works because it addresses the fundamental problem: uncontrolled air infiltration that forces your hvac system to work 20-30% harder than necessary. Rather than upgrading to energy efficient appliances or installing solar panels, the 300 fix eliminates the primary cause of poor insulation performance, which can be mitigated with a programmable thermostat. Programmable thermostat heating allows homeowners to automatically adjust temperature settings for maximum efficiency and cost savings, optimizing both heating and cooling schedules to further reduce energy bills.
Here’s a typical cost breakdown for the 300 fix approach:
|
Item |
Cost Range |
Coverage |
|---|---|---|
|
Weatherstripping |
$25-50 |
10-15 windows and 3-4 doors |
|
Caulk and gun |
$15-30 |
200-300 linear feet of sealing |
|
Door sweeps |
$20-40 |
3-4 exterior doors |
|
Outlet insulators |
$10-20 |
30-40 outlets throughout home |
|
Window film |
$40-60 |
8-10 medium windows |
|
Foam spray |
$25-35 |
Large cracks and holes |
The beauty of this approach is its immediate impact. Unlike energy efficient upgrades that require months or years to show results, proper air sealing creates a noticeable difference in comfort and energy use within days of completion.
Air leaks force hvac system components to work 20-30% harder, directly increasing monthly energy bills through constant cycling and extended runtime. When your heating and cooling systems can’t maintain thermostat settings due to air leaks, they consume significantly more kilowatt hours to achieve the same comfort level. If your utility uses time-of-use pricing, running heating and cooling systems during off peak hours can help reduce energy expenses.
Consider this shocking reality: a 1/8-inch gap under a door equals a 2-inch hole in your wall for energy loss purposes. That seemingly minor gap allows hundreds of cubic feet of conditioned air to escape every hour, forcing your air conditioning or heating system into nearly constant operation.
The most common draft locations and their typical energy impact include:
During winter months, drafts can add $50-150 per month to heating costs in a typical 2,000 square foot home. These losses compound during extreme weather when the temperature difference between indoor and outdoor air creates stronger pressure differentials.
Beyond direct energy bills, drafts create hot and cold spots throughout your home, reducing comfort and forcing constant thermostat adjustments. These temperature inconsistencies make rooms feel uncomfortable even when your smart thermostat shows the “correct” temperature, leading to frequent manual overrides that waste energy and prevent you from being able to save money .
Air leaks also allow humidity and outdoor pollutants to enter uncontrolled, affecting indoor air quality and forcing air filters to work harder. During summer months, humid air infiltration increases cooling systems load as they struggle to maintain both temperature and humidity levels.
Perhaps most costly, drafts cause hvac system equipment to cycle more frequently, leading to premature wear and expensive repairs. Systems designed to run in longer, more efficient cycles instead start and stop constantly, reducing lifespan and increasing the need for regular maintenance.
The environmental impact extends beyond your electric bill. Energy waste from air leaks equals leaving a window open 24/7 in many homes, unnecessarily increasing your home’s energy efficiency carbon footprint, which can also be reduced by switching to led lighting. and contributing to peak demand periods that strain the electrical grid.
If you want to make your home more energy efficient and cut down on high energy bills, conducting a simple home energy audit is the perfect place to start. A home energy audit helps you understand exactly where your home is wasting energy—so you can target the right fixes and see a big difference in your energy usage and comfort.
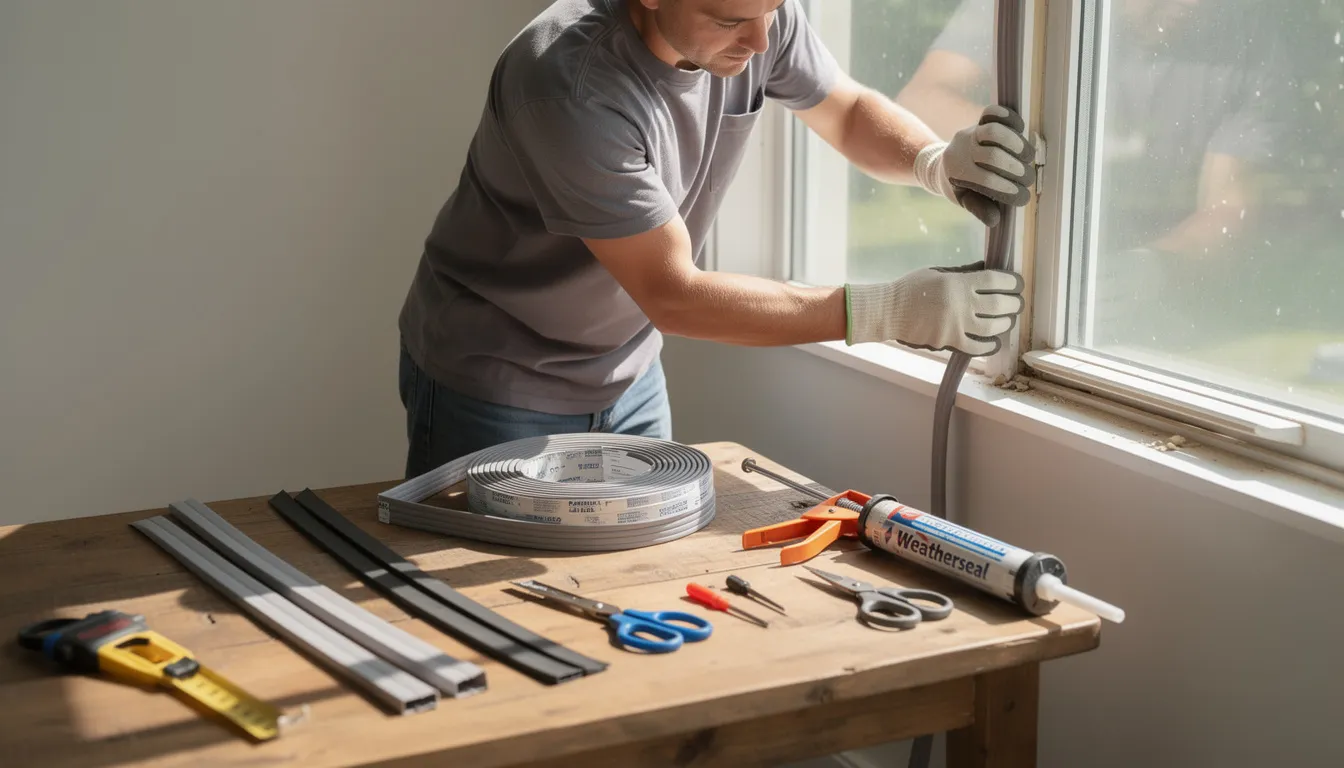
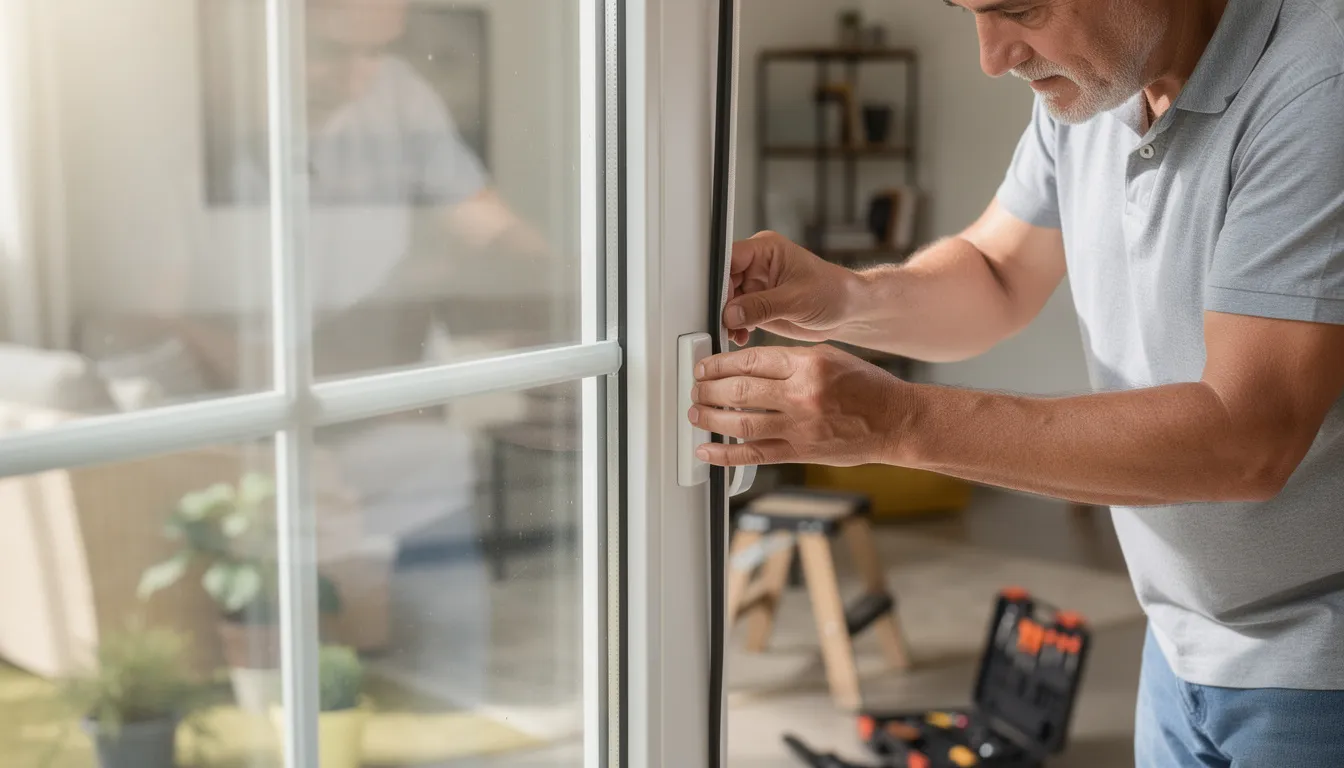
Begin your audit by walking through each room and paying close attention to spots where warm air might be escaping or cold drafts are sneaking in. Common culprits include windows, doors, and electrical outlets. Run your hand along the edges to feel for air leaks, and check for visible gaps or cracks in walls, floors, and ceilings. Sealing air leaks with caulk or weatherstripping is one of the fastest ways to prevent heat loss and reduce energy consumption.
Next, take a look at your lighting. Evaluate each light bulb in your home and consider replacing traditional light bulbs with energy-efficient options such as LEDs. If you’re still using incandescent bulbs, swap them out for LED bulbs. LED lighting uses far less energy and lasts much longer, making it a simple upgrade that pays off quickly on your electricity bill. While you’re at it, consider replacing older appliances with energy efficient models—look for the Energy Star label to ensure you’re getting appliances that use less energy and water, from washing machines to refrigerators.
Don’t forget your HVAC system. Check that your air filters are clean and replace them regularly to keep your system running efficiently. If you haven’t already, install a programmable thermostat or a smart thermostat. Adjusting your thermostat settings by just a few degrees—lower in winter, higher in summer—can lead to noticeable energy savings without sacrificing comfort. Ceiling fans are another smart addition; they help circulate air, reducing the need for air conditioning and lowering cooling costs.
For even more savings, consider the impact of your water heater and laundry habits. Lowering your water heater temperature and washing clothes in cold water can significantly reduce your home’s energy consumption. Upgrading to a more efficient water heater or using low-flow fixtures can also help you save energy and money over time.
If you’re ready to take your home’s energy efficiency to the next level, solar panels are a great long-term investment. While the upfront costs can be significant, solar panels can dramatically reduce your reliance on the grid and lower your energy bills for years to come—all while making your home more environmentally friendly.
By performing a simple home energy audit and making targeted energy efficient upgrades, you’ll not only reduce your energy usage and lower your energy bills, but also create a more comfortable, sustainable home. If you want a deeper dive, consider hiring a professional for a comprehensive home energy audit. But even these basic steps can help you save energy, prevent heat loss, and make a real difference in your household energy usage.
Building an effective draft prevention kit requires selecting the right materials for different types of air leaks while staying within the $300 budget. Here’s your complete shopping list with specific recommendations for maximum impact:
Weatherstripping for windows and doors: $50-75 Choose V-strip weatherstripping for durability, or foam tape for budget-conscious projects. This investment covers 10-15 windows and 3-4 doors, targeting the largest sources of air leaks in most homes.
High-quality caulk and caulk gun: $30-45 Silicone caulk offers superior longevity and flexibility, while acrylic latex works for interior applications. Purchase enough for 200-300 linear feet of sealing around window frames, baseboards, and trim work.
Door sweeps and thresholds: $60-80 Adjustable door sweeps accommodate uneven floors and provide excellent sealing for exterior doors. This covers 3-4 exterior doors, including front, back, and garage access doors.
Outlet and switch plate insulators: $25-35 Foam gaskets installed behind electrical outlets and switch plates on exterior walls reduce convective air leakage through electrical boxes. This quantity covers 30-40 outlets throughout your home.
Window film kits for single-pane windows: $40-60 Heat-shrink window film creates an additional air barrier for older windows, effectively adding a second pane of glass. This covers 8-10 medium-sized windows in priority rooms.
Foam spray for larger gaps: $25-35 Low-expansion spray foam seals larger cracks and holes around pipes, wires, and framing without damaging surrounding materials. Choose low-expansion to prevent structural damage.
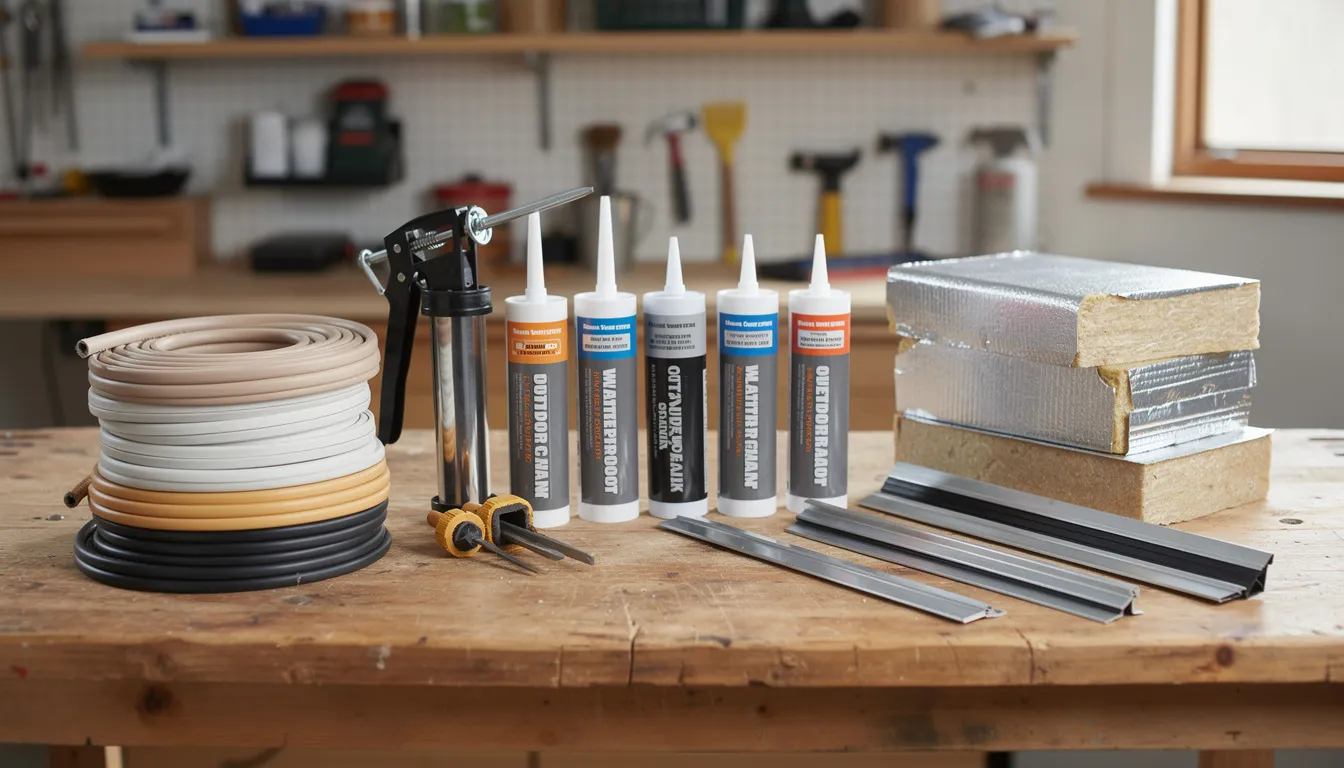
Most materials are available at home improvement stores, including smart power strips that help manage device energy use. Smart power strips are especially useful for eliminating standby mode and vampire load by cutting power to electronics and appliances that continue to draw electricity even when turned off or in standby mode. This reduces unnecessary energy consumption and helps lower your energy bills. Better prices are often available online for bulk purchases. Buy quality materials that resist temperature extremes and UV exposure to maximize the lifespan of your investment.
Transform your home’s energy efficiency with this systematic approach that tackles the most impactful improvements first. Each day focuses on specific areas, making the project manageable while delivering immediate results.
Day 1-2: Install door sweeps on all exterior doors and check door frames for gaps Start with exterior doors since they typically have the largest air leaks. Remove old door sweeps if present, clean the door bottom, and install adjustable sweeps that conform to your floor surface. Check door frames for gaps using the dollar bill test—if you can pull a bill through easily, add weatherstripping.
Day 3-4: Apply weatherstripping to windows, starting with rooms you use most Focus on bedrooms, living rooms, and home offices where comfort matters most. Clean window sashes thoroughly before applying weatherstripping. V-strip weatherstripping provides the best seal for most window types, while foam tape works for temporary solutions.
Day 5-6: Caulk visible cracks around window frames, baseboards, and trim Target areas where different materials meet, as these joints expand and contract with temperature changes. Remove old, cracked caulk before applying new material. Work in full load sections to maintain consistent appearance and prevent heat loss.
Day 7: Install outlet insulators behind switch plates and outlet covers Turn off power at the breaker before removing cover plates on exterior walls. Install foam gaskets behind each plate to stop air movement through electrical boxes. This simple step often provides a noticeable difference in draft reduction.
Most homeowners already own the basic tools required, keeping additional costs under $20:
The key to success is working systematically and taking time for proper surface preparation. Clean, dry surfaces ensure better adhesion and longer-lasting results.
The 300 fix focuses on improvements that most homeowners can complete safely without special skills:
DIY-friendly projects: Weatherstripping, caulking, door sweeps, outlet insulators, and window film application require only basic tools and patience.
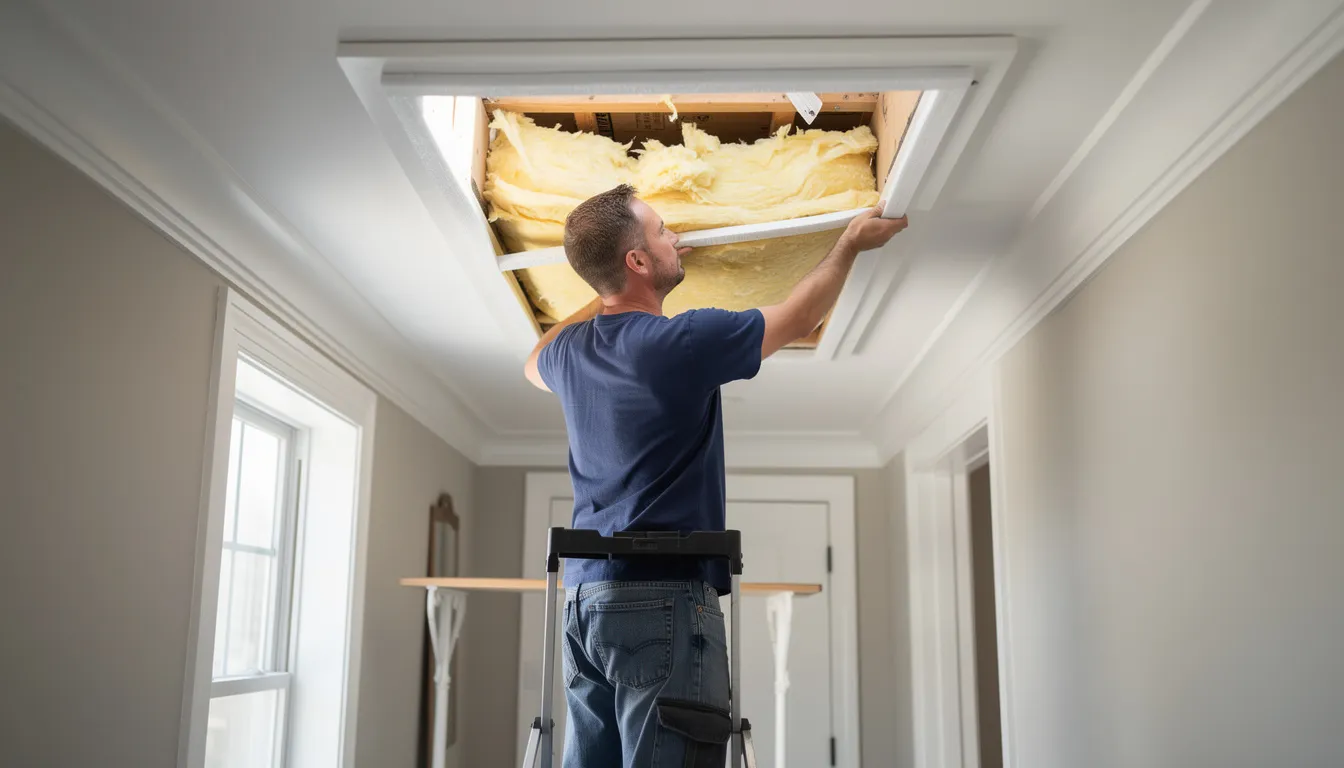
Consider professionals for: Attic insulation, duct sealing, and major window repairs that require specialized equipment or safety considerations.
Call professionals immediately if: You discover structural issues, extensive rot around windows, or electrical problems during your inspection. Safety always takes priority over energy savings.
The goal is achieving maximum energy efficiency improvement with minimal risk and cost, making professional help unnecessary for most 300 fix projects.
Once you’ve completed the basic 300 fix improvements, these advanced strategies can further enhance your home’s energy efficiency. While these may require additional investment beyond the initial $300, they target remaining energy waste sources for comprehensive draft prevention ultimately helps your home use less energy .
Attic access sealing with weatherstripped covers Attic hatches and pull-down stairs often have gaps equivalent to leaving a window open. Install weatherstripped covers or upgrade to insulated access doors to prevent significant energy loss through this commonly overlooked area.
Basement rim joist insulation The rim joist area where the foundation meets the floor framing creates major air leaks in many homes. Sealing this area with spray foam or rigid insulation boards stops drafts from the foundation level and can reduce heating costs substantially.
Storm door installation Adding storm doors to frequently used entrances provides extra protection and creates an air buffer zone. Modern storm doors also improve security and reduce noise while maintaining natural light in entry areas.
Window replacement consideration Windows over 20 years old with broken seals may require replacement rather than weatherstripping. Single-pane windows in cold climates often justify replacement when the 300 fix reaches its limits of effectiveness. Modern energy-efficient windows are designed to outperform standard models, which are typically less efficient. Upgrading from standard models to high-efficiency windows can provide significant energy and cost savings.
Strategic prioritization ensures maximum impact from your time and investment:
Focus on south-facing windows that receive direct sunlight and experience the most expansion and contraction cycles. These windows develop gaps faster and benefit most from attention.
Prioritize frequently used rooms like bedrooms, living rooms, and home offices where comfort matters most. Sealing these areas first provides immediate quality of life improvements alongside energy savings.
Address basement and attic access points that often have the largest gaps and easiest fixes. These areas typically show dramatic improvement from minimal investment.
Check areas where different building materials meet as these joints are natural weak points in the building envelope. Foundation-to-frame connections, siding-to-trim joints, and roof-to-wall connections commonly develop leaks.
If you’re looking to make a noticeable difference in your energy bills and overall home energy usage, upgrading to energy-efficient appliances and lighting is one of the smartest moves you can make. While sealing air leaks and improving insulation are essential first steps, switching out old, energy-hungry appliances and incandescent bulbs can take your energy savings to the next level.
Energy efficient appliances—especially those with the ENERGY STAR label—are designed to use less energy while delivering the same (or better) performance as standard models. For example, ENERGY STAR certified refrigerators and washing machines can use up to 30% less energy than older models, which translates directly into lower energy bills and reduced household energy usage. Over time, these savings add up, making the initial investment well worth it.
Lighting is another area where you can see a big difference with a simple upgrade. Replacing incandescent bulbs with LED bulbs or LED lighting throughout your home can cut lighting-related energy consumption by up to 75%. Not only do LED bulbs use less energy, but they also last much longer, meaning fewer replacements and less waste. The result? Lower electricity bills and a more environmentally friendly home.
Heating and cooling account for a significant portion of most households’ energy costs. Upgrading to a programmable thermostat or smart thermostat allows you to fine-tune your thermostat settings, automatically adjusting temperatures by just a few degrees when you’re asleep or away. This small change can reduce heating costs in winter and cooling costs in summer by up to 10%, all without sacrificing comfort. Smart power strips are another easy upgrade—by cutting power to devices in standby mode, they help eliminate vampire load and further reduce energy consumption.
To get the most out of these upgrades, start with a home energy audit. Whether you do it yourself or hire a professional, a home energy audit will pinpoint where your home is wasting energy and highlight the best opportunities for energy efficient upgrades. This targeted approach ensures you’re investing where it counts, maximizing both energy savings and comfort.
Tracking the effectiveness of your 300 fix improvements helps validate your investment and identify areas needing additional attention. Use these methods to quantify your energy savings and maintain momentum for future efficiency projects.
Compare energy bills from the same month last year to current usage after completing your draft prevention work. Look for 15-25% reductions in kilowatt hours used, accounting for weather differences between years using heating and cooling degree days. Also, track the impact of replacing each traditional light bulb with an energy-saving light bulb, such as an LED, and monitor your electricity bill to see how this specific lighting upgrade contributes to additional savings.
Use a digital thermometer to check temperature consistency throughout your home. Before improvements, you might find 5-10 degree differences between rooms. After sealing air leaks, temperature variations should decrease to 2-3 degrees or less.
Perform simple smoke tests with incense sticks to verify that air leaks have been properly sealed. Light an incense stick and move it around previously drafty areas on a windy day. Smoke should rise straight up rather than being drawn toward hidden gaps.
Track monthly energy use patterns to identify seasonal improvements. Winter heating costs and summer air conditioning loads should both decrease proportionally, creating year-round savings that compound over time. Monitor your air conditioner runtime and energy use before and after draft prevention improvements to see reductions in cooling costs.
Success with initial improvements often justifies additional energy efficient upgrades:
If you achieve 15%+ savings, consider investing in additional insulation, energy star rated windows, or energy efficient appliances to maximize your home’s energy efficiency potential.
Persistently high electric bills after improvements may indicate hvac system inefficiency, poor ductwork, or the need for a professional energy audit to identify remaining problems.
Continued drafts after comprehensive sealing might require investigation of structural issues, foundation problems, or major insulation deficiencies that exceed DIY capabilities.
High bill persistence could signal the need for bigger investments like heat pump upgrades, solar panels installation, or comprehensive weatherization beyond basic air sealing measures.
Maintaining your 300 fix improvements ensures continued energy savings and extends the life of your materials. Follow this seasonal schedule to protect your investment and identify new efficiency opportunities, such as learning to unplug devices when not in use .
Spring maintenance (March-May): Inspect and replace weatherstripping damaged by winter weather expansion and contraction. Check for new cracks in caulked areas and repair immediately to prevent water damage during spring rains.
Summer preparation (June-August): Examine caulk around windows for heat-expansion cracks and refresh as needed. Test window film adhesion and replace any loose sections before peak cooling season demands.
Fall preparation (September-November): Test door sweeps and seals before heating season begins. Replace worn materials to ensure maximum efficiency during peak energy usage months. This is also an ideal time for professional hvac system maintenance.
Winter monitoring (December-February): Watch for new drafts during cold weather when pressure differentials are highest. Address problems immediately to prevent wasting energy during peak heating season when costs are highest.
Quality materials and proper maintenance significantly extend the effectiveness of your initial investment:
Choose weatherstripping and caulk materials that withstand temperature extremes and UV exposure. Spending slightly more upfront reduces replacement frequency and maintains consistent performance.
Clean weatherstripping regularly with mild soap and water to maintain flexibility and sealing effectiveness. Avoid harsh chemicals that can degrade rubber and foam materials.
Repaint caulked areas every few years to prevent UV degradation and maintain appearance. Use high-quality exterior paint that expands and contracts with temperature changes.
Budget $50-75 annually for maintenance and replacement of worn materials. This small investment protects your larger energy savings and prevents gradual efficiency degradation.
The 300 fix transforms homes from energy-wasting to energy efficient through strategic improvements that deliver immediate results. By focusing on sealing air leaks systematically, most homeowners reduce their energy bills by 15-25% while improving comfort and indoor air quality.
Start with Week 1’s quick fixes to see immediate impact on your heating costs and cooling costs. The combination of lower energy bills, improved comfort, and reduced environmental impact makes the 300 fix one of the most effective investments you can make in your home’s energy efficiency.
Your electricity bill next month will thank you, and the money you save can fund additional energy efficient upgrades or simply stay in your pocket where it belongs.


Trade Program
Are You a Trade Professional?
Architects, designers, and contractors receive exclusive pricing and dedicated project support.
Learn About Trade Pricing →Get Started
Our team can help with product selection, sizing, and specification — at no charge.


