My shopping cart
Your cart is currently empty.
Continue Shopping
Positioning doors correctly is key to avoiding issues like difficulty opening or closing and ensuring a perfect fit. In this guide, you’ll learn how to position doors correctly by following the essential steps, tools, and tips to get it right the first time, from measuring to final adjustments.
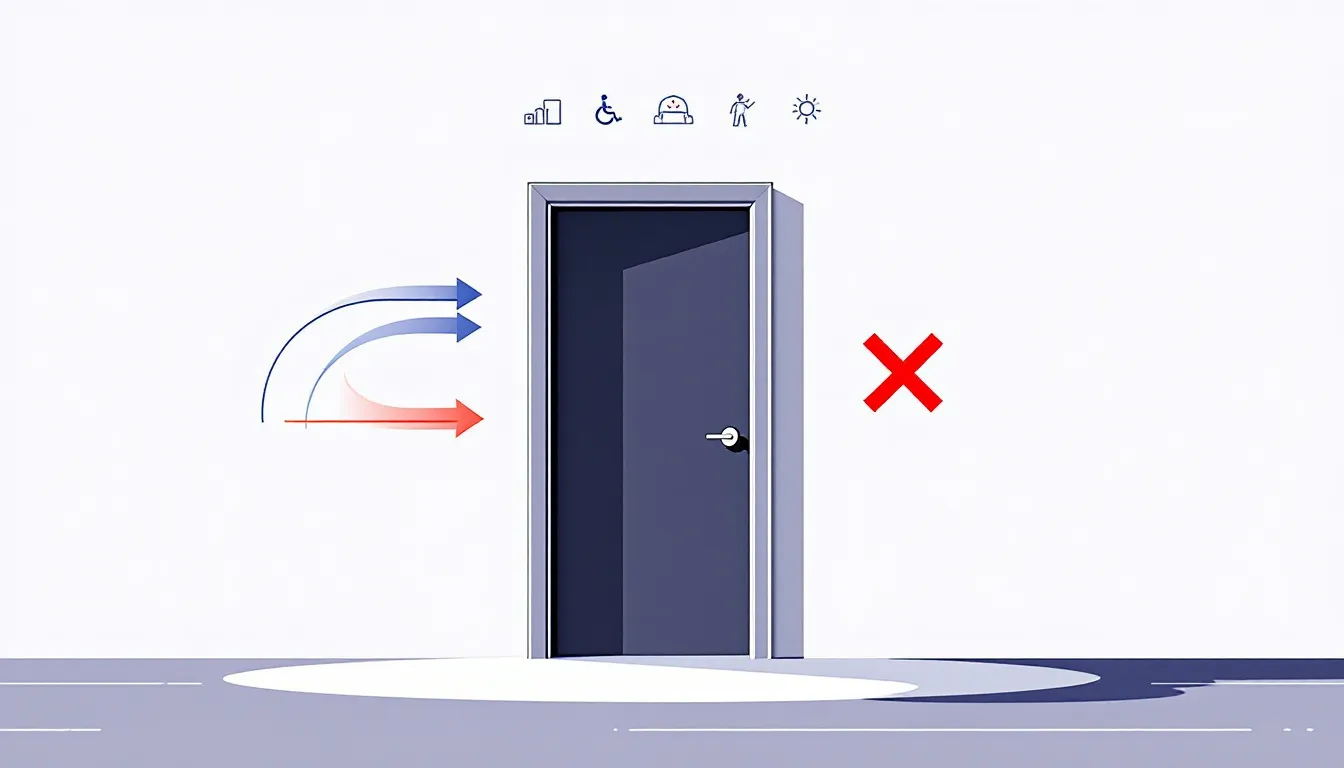
Ensuring that a door is correctly positioned is crucial for its smooth operation, durability, and practical use. This attention to detail not only improves the functionality of both interior and exterior doors, but also elevates the visual appeal of a home by fitting in harmoniously with its aesthetic design. Precise installation guarantees that each door adheres to the required standards and performs seamlessly, eliminating challenges like resistance when opening or shutting, while being adaptable to various types of doors.
It’s important to examine your door thoroughly for any surface imperfections or damage incurred during shipping before it’s installed. When doors are properly aligned during installation, they function effortlessly and contribute significantly to the usability of indoor spaces while maintaining their structural integrity. The ease with which a well-installed door opens promotes greater accessibility and convenience in using these entryways.
The right tools and materials are essential for a successful door installation. Key tools include:
Proper planning and preparation, including reviewing door warranty information and the manufacturer’s instructions for the installation process, contribute to a successful installation.
Most interior doors measure 1-3/4 inches in thickness, which should be noted during the measurement process. Correct installation of the interior door significantly contributes to the door’s security and protection against weather conditions, making it a vital step in home maintenance.
The initial stage of a flawless door installation involves assembling the appropriate tools. For installing an internal door, it is crucial to have key items such as a tape measure for accurate measurement of the door size to guarantee a correct fit, framing square, screwdriver, and level.
Preparing these instruments beforehand enhances both efficiency and precision throughout the installation procedure. Employing suitable tools not only facilitates exact measurements but also promotes safety during the fitting process.
Selecting appropriate hinges is crucial for the functionality of interior and exterior doors alike. For interior doors, ball bearing hinges are recommended because they facilitate a seamless operation. Concealed bearing butt hinges provide an aesthetic advantage and are suitable for installation on both exterior and interior doors.
For heavier or specialized doors that require additional strength, materials such as bronze should be considered to guarantee longevity. Stainless steel stands out as a common selection for door hinges since it offers durability coupled with resistance to corrosion.
It’s vital that the dimensions and weight of the door align with the size of its corresponding hinges to ensure maximum efficiency in performance.
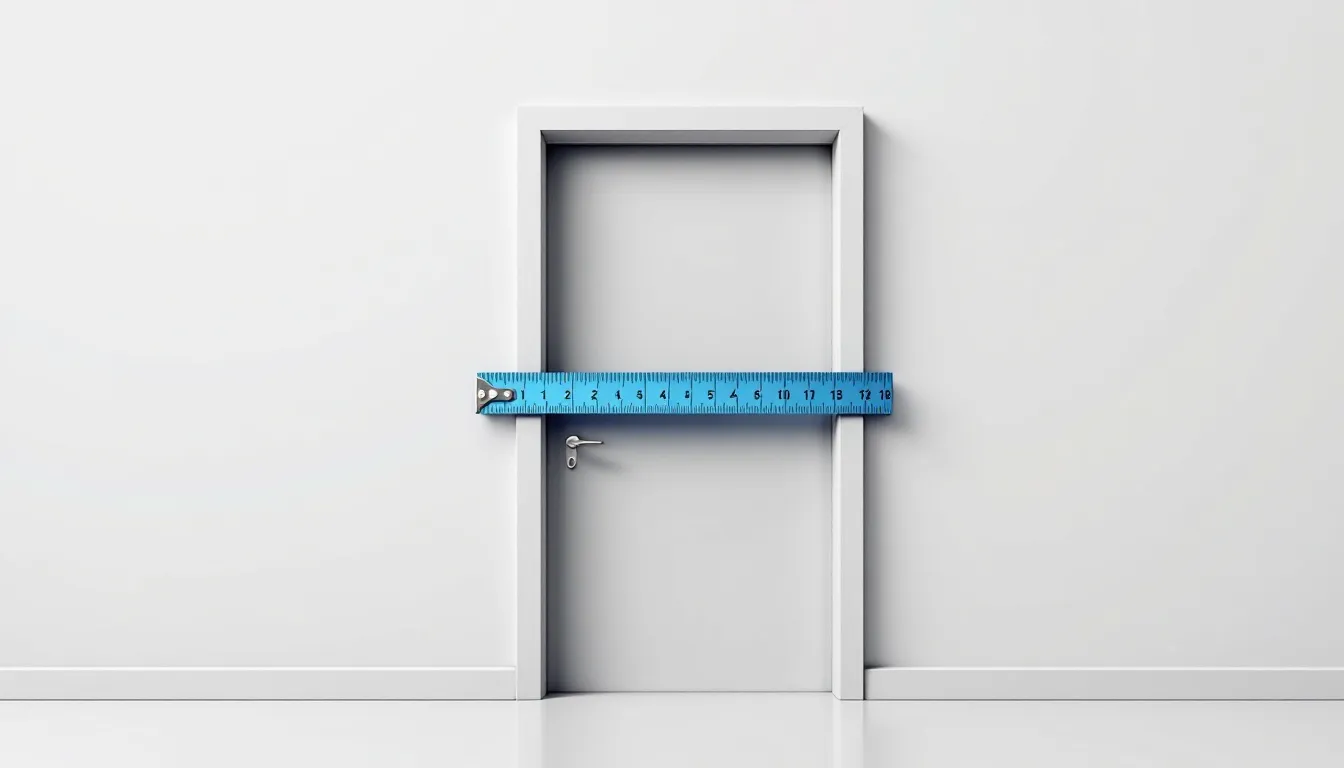
Accurate measurements ensure proper door function and ease of use. Misalignment can cause issues like difficulty opening or closing the door. Essential tools for measuring include a tape measure, pencil, and paper.
When measuring for a prehung door, ensure the rough opening is plumb and square. The opening should be 2 to 2.5 inches larger than the jamb dimensions for a proper fit. If the exact size of a door cannot be purchased, knowing how much you can trim to achieve a perfect fit is important.
Employ a tape measure to ascertain the width of the door by gauging across the top, middle, and bottom sections of its frame. Document the greatest measurement obtained from these points as it compensates for potential unevenness or warping. Utilizing a tape measure is vital to achieve an accurate fit.
In measuring the height, be mindful of any threshold strip that might skew your measurements. Use your tape measure at two separate positions along with the door’s height and note down only the greater value between them. This practice ensures that you acquire a dimension allowing for seamless installation within the frame’s parameters.
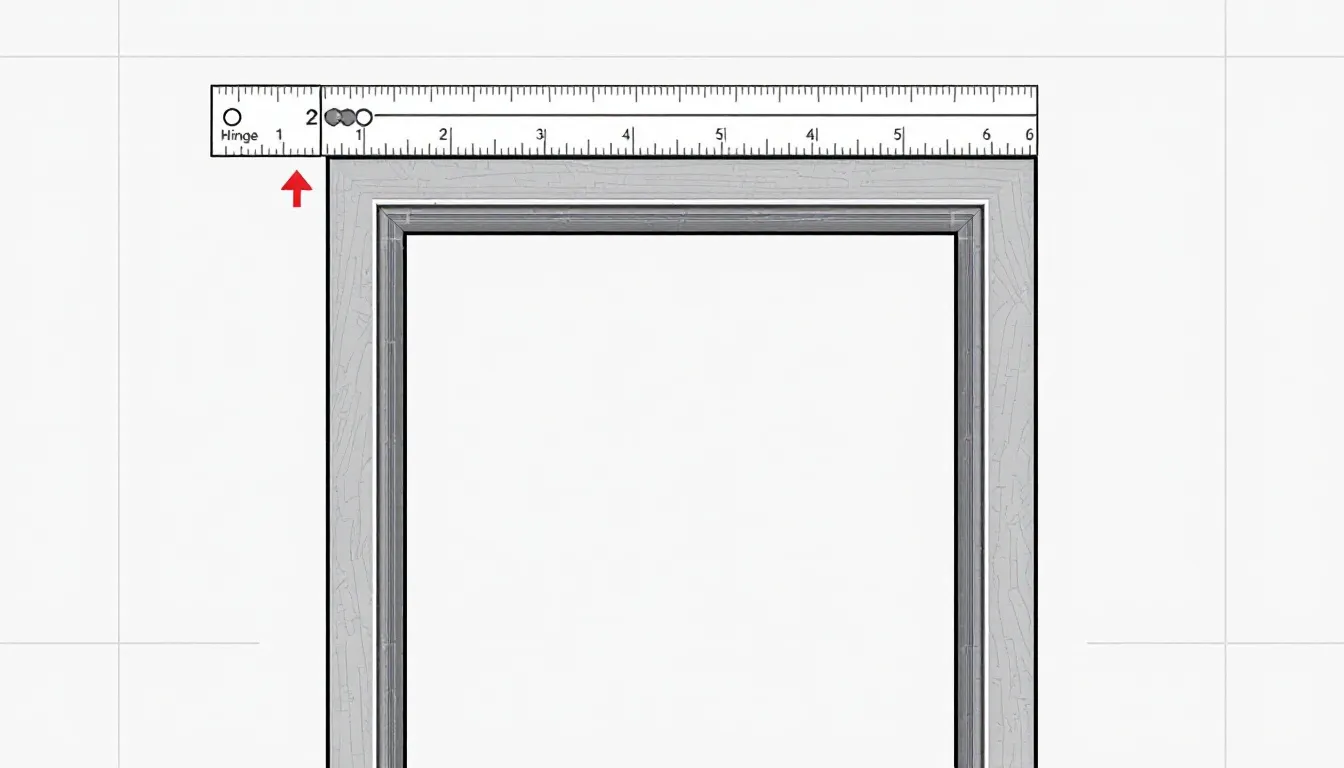
Precise penciling of hinge positions is essential for the correct placement of door hinges and cutting out hinge mortises. This accuracy in marking contributes significantly to the proper alignment of the hinges, facilitating a seamless function and extended durability of the door.
Prior to setting up a new door, examine the current door frame for any signs of damage. Clear away any loose materials or remnants of paint from the old door to secure proper adhesion. Confirm that the frame is properly aligned with the rough opening as this will prevent complications and take into account how installing new doors can improve your environment.
Utilizing a straight edge guarantees level thresholds while placing shims behind each hinge aids in maintaining a plumb position for the door frame. Applying caulking around the edges of the frame serves to seal off any openings and helps eliminate drafts.
Ensuring the use of superior door hinge hardware is crucial for optimal operation and extended durability. Before fitting new hinges, it’s important to evaluate whether the current ones are due for a replacement. Adhering to an exact procedural manual will aid in accurate positioning of the hinges, which involves marking and preparing cutouts for their plates.
For evenly distributed support, position the bottom hinge 10 inches above the lower edge of your door, while placing another one at a distance of 5 inches from its upper end. Once you’ve secured all hinges in place, perform checks by opening and closing your door to confirm that it moves smoothly without obstruction and maintains correct alignment with its frame.
Usually, the top hinge should be installed approximately 7 inches from the frame’s upper end. To avoid misalignment, it is essential to precisely gauge and record the space separating the uppermost and lowermost hinges. This ensures proper alignment when replacing any hinges on a door.
When installing hinges, errors often occur such as irregular spacing or improper measurements from the edge of the door. It is vital to measure accurately from both ends of the hinge side of your door because inaccuracies can lead to poor fitting and misaligned doors.
To improve stability and guarantee seamless functionality, heavy-duty doors benefit from the inclusion of extra hinges. Install this additional hinge approximately 200mm beneath the top hinge. Positioning the third hinge at an equal distance between both the top and bottom hinges is essential for even weight distribution.
For substantial exterior doors, it may be necessary to utilize specific types of hinges such as ball bearing or continuous ones. These are designed to provide stability and maintain smooth operation in spite of their substantial mass.

Have shims and a 4-foot level on hand, along with a screwdriver or hammer, and 2.5-inch trim screws or finish nails for the installation. Place the door into the frame at a 90-degree angle, supported by wedges for stability. An extra pair of hands can help support the door while securing it, as doors can be heavy.
Regular cleaning and lubrication of door hardware ensure smooth operation and prevent rust buildup, maintaining the door’s functionality and appearance over time.
Secure the door by driving 2.5-inch trim screws into each hinge location. After verifying that the door operates correctly, proceed to install any remaining screws at the hinges for added stability.
To ensure that the door closes snugly and functions properly, confirm there is no catching during its operation. Should you notice any issues with the door catching, identify and mark where planing or sanding is necessary, then trim as needed to allow it to close smoothly.
Inspect the perimeter of the door for any uneven spacing and be sure to thoroughly verify that it opens and shuts with ease, free from any impediments. By assessing how well the door works, you can confirm that it performs correctly, thereby improving its functionality.
Should there be irregular gaps or if the door does not operate smoothly, alterations might be necessary. This could involve shifting the position of hinges or adding shims to adjust how the door sits. These modifications are vital for ensuring a precise alignment and seamless motion of the door.

Minor modifications to the door and its frame might necessitate minor shimming for consistent spacing. Employing a utility knife to trim shims even with the wall’s drywall surface will result in a more polished appearance, making cuts where necessary.
Fixing the exterior trim firmly against the stud ensures it stays in place. Using caulk around this trim fills any voids and aids in averting fissures. To reach a smooth finish, using a sanding sponge is effective for smoothing out spackle applied over nail indentations.
When setting up an exterior door, adhere to the following procedures:
Firstly, employ a sill pan to channel water away from the door. Secondly, utilize a caulking gun to apply weatherproofing material that guarantees efficient sealing and protects against water entering. Thirdly, for weighty exterior doors, opt for either ball bearing or continuous hinges as they provide adequate support.
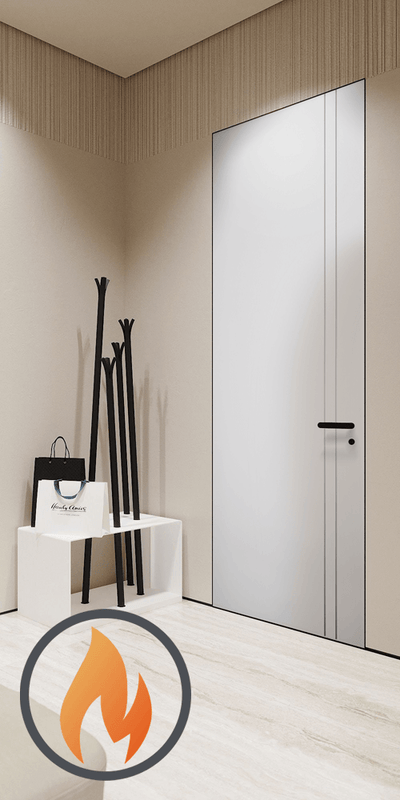
During the installation of bi-fold doors, it is crucial to pay extra attention in correctly installing the top track and securing pivot hinges firmly. When handling fire-rated doors, make sure you comply with both manufacturer guidelines and building regulations for their proper use and effectiveness.
To guarantee the extended service life and proper functioning of your doors, it’s essential to periodically inspect the hinge screws to confirm that they are fastened firmly. This step aids in preserving a seamless operation of the door. Apply lubrication to any parts that move like hinges and locks in order to fend off corrosion and promote uninterrupted smoothness during use.
In cases where there is uncertainty regarding how to install hinges or set up doors correctly, seeking help from an expert is advisable.
In summary, the proper alignment of doors is essential for their seamless functionality, longevity, and visual attractiveness. It involves a comprehensive process that includes obtaining suitable tools and hinges, precise measurement, and meticulous fine-tuning at every stage.
Adhering to these recommendations will guarantee that your doors not only appear impressive but also operate without any issues over an extended period. Remember these points to achieve optimal results when installing and upkeeping your doors.
Ensuring that doors are correctly aligned is essential for their smooth operation and extended lifespan, as well as for boosting the visual charm of your home. Proper door positioning helps to avoid wear and potential structural problems.
For a successful door installation, essential tools include a tape measure, combi drill, chisels, a mallet, and hinges.
Having these tools on hand will ensure a smooth and efficient installation process.
To ensure accurate door placement, use a tape measure to check the height and width of the door frame, confirming that the rough opening is plumb and square.
This will help achieve a proper fit and functionality for your door.
Ball bearing hinges are optimal for interior doors because they ensure a smooth operation, and concealed bearing butt hinges offer an attractive appearance.
To maintain the smooth functioning of your door, it’s important to periodically inspect the hinge screws and lubricate any parts that move. Make sure that the door is correctly aligned and has uniform gaps along its edges.
By carrying out this preventative care regularly, you can avoid potential problems and extend the life of your door.


Get Started
Our team can help with product selection, sizing, and specification — at no charge.


