My shopping cart
Your cart is currently empty.
Continue Shopping
Congratulations on your newly delivered interior doors! Whether you are building a new home or renovating an existing one, installing new doors is an exciting part of the process. However, once the doors are delivered, it is important to know how to properly treat them in order to ensure their longevity and maintain their aesthetic appeal.
In this article, we will discuss the necessary steps for treating your newly delivered interior doors. From unpacking and inspecting your doors to preparing and applying a finish, we will cover all aspects of door treatment. We will also provide tips on preventing damage during installation and maintenance techniques for long-term care.
By following these steps, you can ensure that your interior doors not only look beautiful but also function properly for years to come. So let's dive in and learn how to treat your newly delivered interior doors!
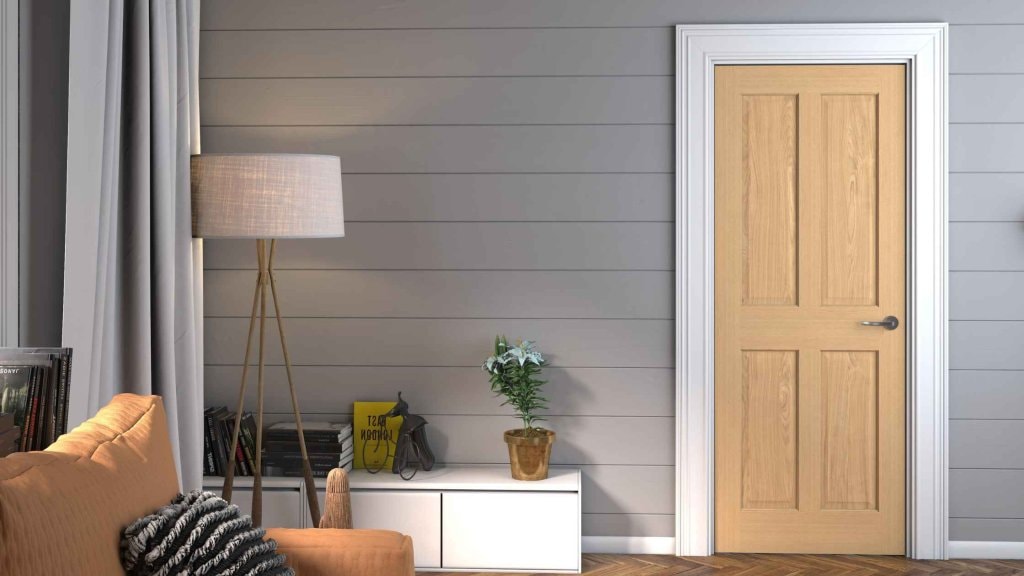
Interior doors are an essential component of any building, providing privacy and division between rooms while also enhancing the overall aesthetic. These doors are designed to be installed within the interior walls of a structure and come in various materials, styles, and finishes to suit different design preferences.
Some common types of interior doors include panelled doors, French doors, sliding doors, and pocket doors. They can be made from wood, metal, glass or a combination of these materials. Interior doors not only serve as functional elements but also add character and style to a space.

Here are the steps for treating your newly delivered interior doors:
The first critical step in treating your interior doors is to carefully unpack and inspect them upon delivery. Begin by removing any packaging materials, being cautious not to scratch or damage the surface. Examine the doors thoroughly for any signs of defects, such as cracks, warping, or blemishes that may have occurred during transit.
If any issues are identified, contact your supplier immediately to supplied pre sanded. Ensuring the doors are in perfect condition before proceeding will save time and effort later on. Always handle the doors with care and store them flat in a dry area until ready for treatment.
Before treating the doors, it is essential to prepare the door frame. This includes ensuring that the frame is straight and level, and any debris or dust is removed. The frame should also be free of any damage that could affect how the door hangs and functions.
Additionally, check if the hinges are aligned correctly and adjust them if necessary. It is crucial to have a properly prepared door frame as it will ensure your doors are installed correctly and prevent future issues.
Once your doors are inspected, unpacked, and the door frame is ready for installation, it's time to start treating them. Start by sanding down all surfaces of the door with fine-grit sandpaper. This step is essential as it removes any imperfections and creates a smooth surface for the finish to adhere to.
Sanding also helps to open up the pores of the wood, allowing for better absorption of the finish. Be sure to sand in the direction of the wood grain and wipe away any dust or debris before moving on to the next step.
Depending on your preference, you may choose to apply a wood stain or paint to your doors. This step is optional but can add color and protection to your doors. If using a wood stain, follow the manufacturer's instructions carefully and apply evenly with a brush or cloth in the direction of the grain.
If opting for paint, ensure that it is suitable for interior wooden surfaces and allow each coat to dry completely before adding another layer. Whichever option you choose, be sure to cover all surfaces of the door, including the edges and corners.
After applying a wood stain or paint, it is essential to seal your doors with a protective coating. This step helps to prevent moisture damage and extends the life of your doors. There are various sealants available in the market, such as polyurethane or lacquer, that can provide a durable finish.
Again, follow the manufacturer's instructions and apply multiple coats for better protection. Allow each coat to dry completely before adding another layer. Once sealed, your doors will have a beautiful sheen and be resistant to scratches and stains.
With the doors treated and sealed, it's time to add hardware and hinges. Make sure to use high-quality hardware that is suitable for interior doors. Carefully measure and mark where the hardware will be placed on the door before drilling any holes.
Ensure that the hinges are properly aligned with the frame and attach them securely with screws. Test the door by opening and closing it a few times to ensure it swings smoothly without any obstructions.
Once all hardware is installed, it's time to hang your doors in their designated frames. This step requires caution as heavy doors can cause damage if not handled correctly. It is recommended to have assistance during this procedure to hold the door in place while attaching it to the frame.
Ensure that the door is level and closes properly before securing it with screws. Once hung, check for any gaps or misalignments and make adjustments as necessary.
To further protect and enhance the appearance of your doors, add a top coat or sealant as a final step. This layer will help to seal any gaps between the door and frame and provide additional protection against moisture and wear.
Again, follow the manufacturer's instructions for application and allow sufficient drying time before handling the door.
Congratulations, your interior doors are now treated and installed! To ensure they remain in excellent condition, be sure to perform regular maintenance such as dusting and cleaning with a damp cloth. Avoid using harsh chemicals or abrasive cleaners that could damage the finish.
Also, periodically check for any signs of wear or damage and address them promptly. With proper care, your interior doors will continue to function and enhance the aesthetic of your space for years to come.
When treating your interior doors, it is crucial to use the correct sealant or top coat to ensure maximum protection and longevity. Not all sealants and top coats are suitable for interior wooden surfaces, so it's essential to choose the right one.
Polyurethane and lacquer are popular options as they provide a durable finish that can withstand wear and tear. Both come in various sheens, from matte to high-gloss, allowing you to customize the appearance of your doors.
Other options include oil-based varnishes or water-based acrylic sealants. These tend to have a lower odor but may not be as durable as polyurethane or lacquer. Whichever type you choose, be sure to follow the manufacturer's instructions carefully for best results.
Here are some benefits of treating your interior doors:
Enhances Appearance- Treating interior doors significantly enhances their overall look, giving them a polished and refined finish. Whether you prefer a natural wood tone or a bold, modern aesthetic, the right treatment can highlight the door's unique grain and texture. This not only boosts the visual appeal of the door but also complements the interior décor seamlessly, creating a cohesive and inviting space within your home.
Preventing Moisture Damage- Moisture can cause internal doors to warp, swell, or even rot over time. Applying a protective treatment acts as a barrier, preventing dampness and prolonging the door's lifespan. This is particularly important in rooms with high humidity, like bathrooms and kitchens. Proper protection ensures that the door remains functional and maintains its structural integrity regardless of varying environmental conditions.
Increasing Durability- Interior doors face daily wear and tear, from constant use to accidental impacts. Treating them enhances their durability by reinforcing the surface against scratches, dents, and other minor damages. A treated door can withstand the challenges of a busy household while retaining its strength and aesthetic appeal, providing a lasting solution for your interior space.
Adding Color and Customization- Treating doors offers an opportunity to customize their appearance to match your style. Whether you opt for a stain, paint, or clear finish, treatments allow you to add vibrant colors or preserve the natural wood tone. This versatility lets homeowners create personalized designs that align perfectly with their décor preferences, turning doors into aesthetic statements.
Easy Maintenance- A treated door is far easier to maintain than an untreated one. Protective finishes create a smooth, sealed surface that resists dirt and stains, making cleaning a simple task. Regular maintenance involves little more than wiping the surface with a damp cloth, ensuring that your doors stay clean and fresh with minimal effort.
Protection Against Wear and Tear- Interior doors endure a lot of use, from frequent opening and closing to potential scratches. Treating the doors provides a layer of protection against wear and tear, preserving their structural quality. This protective barrier ensures the door remains functional and attractive for years, reducing the need for frequent replacements or repairs.
It is not necessary to hang the door immediately after treating it, but it is recommended to do so as soon as possible. This will prevent any potential damage or wear to the treated surface and ensure a proper fit in the frame. However, if you need to delay hanging the door for any reason, be sure to store it in a clean and dry area until you are ready to install it.
Depending on the type of finish applied, be mindful of storage instructions provided by the manufacturer. It's also important to note that some finishes may require additional drying time before handling or installing the door.

To maintain the appearance and functionality of your treated interior doors, here are some helpful tips:
Regularly dust or wipe down the surface with a damp cloth to remove any accumulated dirt or dust.
Avoid using abrasive cleaners or harsh chemicals, as they can damage the finish on the door.
If using a vacuum cleaner, use a soft brush attachment and be gentle to avoid scratching the surface.
Immediately clean up any spills or stains with a damp cloth.
Use doormats inside entryways to prevent tracking in dirt that can potentially scratch the door's surface.
Trim pet nails regularly to avoid any accidental scratches on doors.
Place furniture pads under heavy objects that may come into contact with doors, such as chairs or tables.
Avoid slamming doors shut, as this can cause damage to both the frame and hinges over time.
If necessary, touch up any scratches or scuffs with a matching stain or paint.
Keep doors well ventilated to prevent moisture buildup and potential damage.
Regularly check for any signs of wear and tear, such as loose hinges or gaps in the frame, and make necessary repairs promptly.
Follow the manufacturer's instructions for specific care and maintenance tips for your chosen finish.
By following these simple tips, you can ensure that your treated interior doors remain in top condition for years to come.
Yes, you can install hardware and hinges yourself if you have the necessary tools and experience. However, it is recommended to seek assistance from a professional if you are not familiar with the process. Improperly installed hardware and hinges can cause damage or hinder the functionality of your doors.
It's important to carefully follow instructions and take proper measurements before drilling any holes for hardware installation. If unsure, consult a professional for guidance or assistance. Additionally, make sure to use high-quality hardware and hinges that are suitable for interior doors to ensure durability and proper function.
When treating and installing an interior door, it's essential to ensure its stability. This means checking for any potential gaps or misaligments between the door and frame that could affect its functionality.
To analyze stability, try opening and closing the door several times to see if it moves smoothly without sticking or rubbing against the frame. You can also use a level to check if the door is hanging straight and not tilting in any direction. Additionally, examine the hinges and make sure they are securely attached to both the door and frame.
If you notice any issues with stability, adjustments may need to be made before hanging the door permanently. This could involve sanding down any uneven edges or tightening loose hinges. Proper stability ensures that your interior doors will operate smoothly and effectively for years to come.
Interior doors may encounter some common issues over time, such as squeaking hinges, sticking or jamming, or loose hardware. Here are a few solutions for these problems:
Apply a small amount of lubricant, such as WD-4O or olive oil, to the hinges and work it in by opening and closing the door several times.
Check for any obstructions between the door and frame, such as dirt or debris. If necessary, sand down any uneven edges on the door that may be causing it to stick.
Tighten screws on hinges, doorknobs, and other hardware regularly to ensure they are secure. If a screw is stripped or loose, replace it with a new one.
My City Doors offers a wide selection of high-quality interior doors to suit any style or budget. Our team at My City Doors is committed to providing exceptional customer service and top-notch products that will elevate the look and feel of your home. With years of experience in the industry, we pride ourselves on our expertise and attention to detail when it comes to helping you choose the perfect interior door for your space.
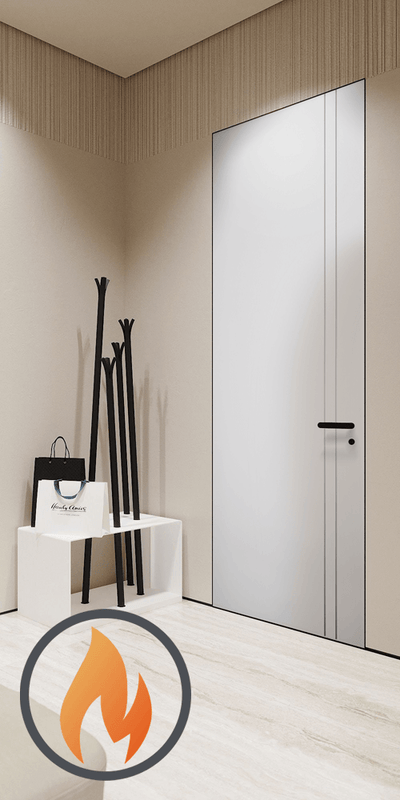
At My City Doors, we offer swing, pocket, barn, bypass, bi-fold, and magic doors in various designs including contemporary, custom order, double French, entryway, exterior, fire-rated modern, hidden frame, black glass paneling, decorative panels, mirrors, European louvered, wardrobe, patio, prehung, premium residential, rustic, sliding closet and interior doors. Our doors are made with high-quality materials and finishes to ensure long-lasting durability and style. Plus, our warranty information guarantees your satisfaction.
For all your interior door needs, trust My City Doors for top-notch products and exceptional customer service. Visit us online or at one of our showrooms in Brooklyn or Staten Island today!
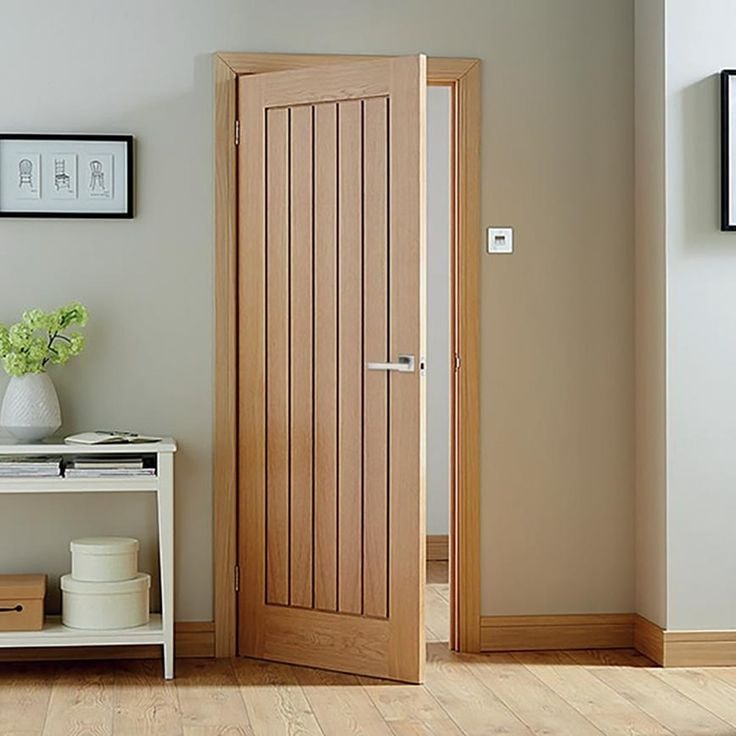
Untreated interior oak doors require careful attention to preserve their natural beauty. Apply a wood finish to protect the surface and use a lint-free cloth to wipe away dust and dirt. For those who prefer a more rustic look, unfinished doors can be left as they are but may need regular care to avoid damage.
Glazed interior doors have glass panels embedded within them, often framed by wood, offering a sleek and modern look. Glass doors, on the other hand, are entirely made of glass.
In recently plastered rooms, it’s important to cover untreated interior oak doors with dust sheets to protect them from plaster residue.
Veneered doors work well with a variety of door furniture, including handles, locks, and hinges. When selecting hardware, ensure it complements the finish of the veneered doors. Glazed interior doors or wooden doors may require additional fittings for the glass panels to securely hold them in place.
Yes, it’s best to finish untreated interior oak doors before installing glass panels. This protects the wood and enhances its appearance.
Treating interior doors can enhance their appearance and extend their lifespan. By following proper techniques for applying treatments, as well as maintenance tips, you can ensure that your doors remain in top condition for years to come. If any issues arise, addressing them promptly can prevent further damage and prolong the life of your interior doors.
When in doubt, consult a professional for guidance and assistance. And for all your interior door needs, trust My City Doors to provide top-quality products and exceptional customer service. So go ahead and make the investment in treating your interior doors – your home will thank you!


Trade Program
Are You a Trade Professional?
Architects, designers, and contractors receive exclusive pricing and dedicated project support.
Learn About Trade Pricing →Get Started
Our team can help with product selection, sizing, and specification — at no charge.


