My shopping cart
Your cart is currently empty.
Continue Shopping
A well-designed door should support the architecture around it. In some interiors, that means making the door a statement. In others, the better solution is to let it disappear.
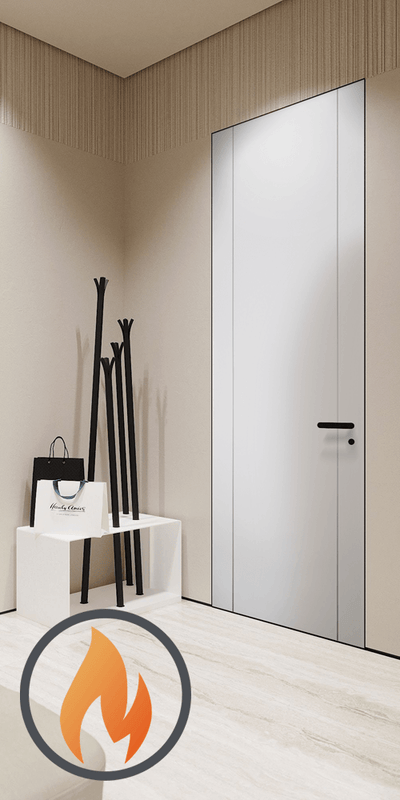
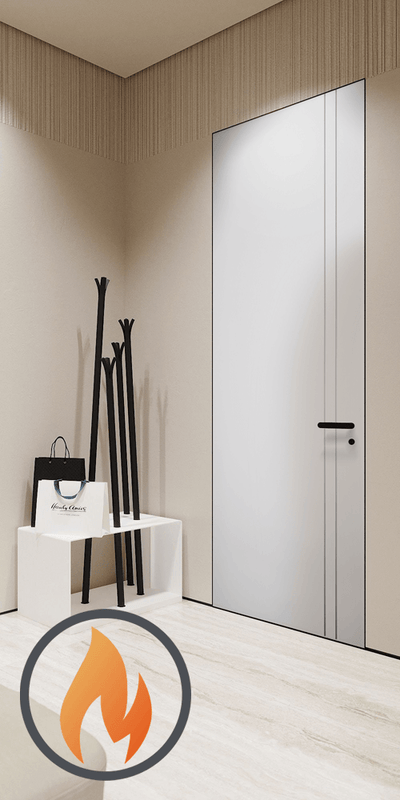
Hidden frame doors are designed to sit flush with the wall, removing the traditional casing and visible frame. When the door leaf receives the same finish as the surrounding surface, it becomes part of the wall rather than a separate object. The result is calm, spacious, and highly architectural.
This effect is simple in appearance, but it requires careful coordination. Paint sheen, plaster thickness, panel alignment, hardware, baseboards, and installation sequence all influence the final result. Treat the door as part of the wall system from the beginning, not as an opening added at the end.
Traditional trim creates a visual border around a door. That border can be useful in classic interiors, but it may interrupt the clean geometry of a minimalist room.
A concealed frame removes that interruption. You see a continuous surface, with only a fine perimeter reveal or shadow line identifying the door.
This approach is especially effective when you want to:
For a purpose-built solution, review the Hidden Frame Interior Doors collection early in the design process. The correct frame, door construction, swing direction, and hardware should be confirmed before wall finishing begins.
The most important design decision is the relationship between the door frame and the finished wall surface.
A wall build-up includes every layer that determines the final plane: studs or masonry, drywall or plasterboard, skim coat, primer, paint, paneling, veneer, or decorative texture. If the door and wall do not finish at the same depth, the concealed effect will be lost.
Before installation, coordinate:
Do not wait until the painter arrives. A concealed frame is a finish-sensitive architectural detail.
Paint is the most straightforward finish for a concealed door because the door leaf and wall can share the same color.

For the most integrated appearance, coordinate three elements:
Use the same color on the door and the surrounding wall when you want the door to recede. Warm whites, soft greiges, muted taupes, and pale grays are particularly effective in modern interiors.
A small color difference can make the door more visible. If the door is intended to disappear, test the actual finish on a sample rather than relying only on a digital color card.
The wall and door should have a similar level of reflectivity. A satin door against a dead-matte wall may appear as a separate panel even when the color matches.
For most minimalist applications, a matte or low-sheen finish gives the most refined result. It also reduces glare and supports the soft, tactile quality of modern interiors.
A completely invisible joint is not always the best choice. A narrow, consistent reveal can create a deliberate shadow line and help control minor movement between materials.
The detail should look intentional. Uneven gaps, cracked corners, or a door sitting proud of the wall will appear accidental.
Plaster creates a softer, more organic version of minimalism. It is ideal when you want the wall and door to read as a single sculpted surface rather than a perfectly uniform painted plane.
Apply the same finish strategy across the door and wall:
Microcement and similar coatings can be visually striking, but they are less forgiving than ordinary paint. Their rigid finish can highlight movement at the frame junction. Your installer and finish contractor should agree on primers, mesh, edge treatment, and curing time before work begins.
A plastered hidden door should not be treated like a standard slab door. It is a coordinated finish assembly.
Wood paneling gives concealed doors warmth and visual depth. It works especially well in entry halls, living rooms, dressing areas, and media walls.

The strongest result comes when the door is planned as one panel within the larger millwork composition.
If the wall uses veneer or natural wood, align the grain across the door leaf and adjacent panels. A mismatched grain direction can make the opening obvious.
Horizontal panel breaks should continue across the door where possible. If the design uses vertical flutes, battens, or slats, maintain the same spacing across the door surface.
Even a small shift can interrupt the rhythm of the wall.
The panel applied to the door must finish in the same plane as the surrounding millwork. Consider the thickness of the veneer, substrate, adhesive, and any battens behind the panels.
This is where precise shop drawings are valuable. The door, frame, and millwork should be detailed together rather than produced as separate packages.
Visible pulls can disrupt the pattern. Depending on the door system and room use, consider understated hardware such as a compact lever, concealed hardware, or a push-latch solution where appropriate.
Hardware must still be practical. A hidden door should be easy to open every day.
For broader material and finish options, the Modern European Interior Doors collection offers useful direction for coordinating contemporary door styles with wood, glass, and laminate interiors.
Textured walls add shadow, but they also make alignment errors more noticeable. This is particularly true with fluted panels, slatted walls, ribbed surfaces, and three-dimensional decorative treatments.
Use these guidelines:

A fluted wall can make the door nearly disappear, but the installation needs to be exceptionally precise. If the door opens frequently, confirm that the panel material is durable enough for repeated contact and that the added weight is suitable for the hinges.
Minimalism is not simply the absence of decoration. It is the careful control of every line, joint, and transition.
When integrating hidden frame doors, coordinate the door with the rest of the room:
The goal is not to make every detail identical. The goal is to make the transitions feel deliberate.
Many concealed-door problems are caused by timing rather than design.
A typical sequence includes:
The frame must be plumb, level, and square. Small inaccuracies become highly visible on a flush surface.
For renovation projects, consider the Custom Order Interior Doors collection when your opening, finish, or dimensions require more detailed coordination.
Problem: The door outline is too obvious.
Solution: Match the wall and door color, texture, sheen, and depth. Use a consistent reveal rather than an uneven joint.
Problem: The door rubs after plastering.
Solution: Account for every finish layer and complete final hinge adjustments after the wall finish is installed.
Problem: Millwork lines stop at the door.
Solution: Produce a panel layout that treats the door as part of the wall composition.
Problem: The baseboard makes the door look conventional.
Solution: Use flush skirting, a carefully aligned return, or a deliberate interruption that matches the rest of the room.
Problem: Hardware breaks the minimalist effect.
Solution: Select a compact finish-coordinated lever or another compatible low-visibility opening method.
The best hidden frame doors are planned before the wall is finished and detailed with the same care as cabinetry or bespoke millwork. Choose the finish first, establish the wall plane, coordinate the reveal, and communicate the complete assembly to every contractor involved.
If you want a quiet painted wall, match color and sheen. If you want a tactile architectural surface, carry plaster or texture across the door. If you want a feature wall, align the grain, flutes, and panel joints.
The door should feel inevitable within the design. That is what makes the result look sophisticated.
A: Hidden frame doors use a concealed frame instead of visible casing or trim. When the door leaf is finished to match the wall, the opening appears nearly flush and visually integrated.
A: Yes. Matching the door and wall color is one of the simplest ways to create a seamless appearance. Use comparable paint sheen and confirm the finish on a physical sample.
A: Some systems can accept plaster, microcement, or similar finishes, but compatibility, coating thickness, added weight, and edge reinforcement must be confirmed with the door manufacturer and installer.
A: Yes, when the door leaf, frame, panel thickness, and hardware are designed together. Grain, flutes, joints, and panel depth should continue across the door for the most cohesive result.
A: Yes. The frame and opening must be coordinated with the wall construction and final finish build-up before plastering or painting begins. Late selection can compromise alignment and clearances.
A: They are particularly well suited to minimalist interiors because they remove visual trim and preserve a clean wall plane. The effect is strongest when baseboards, lighting, hardware, and wall finishes follow the same design language.
Volume Discount
Save on 6+ Door Orders
Order six or more doors and receive a special volume discount on your purchase.
Shop Now →Free Quote
Have a Door Schedule?
Send us your specifications and receive a custom quote - no obligation.
Send Schedule →No Obligation
Get a Free Quote
Tell us what you need and we will send a detailed quote within 24 hours.
Request Quote →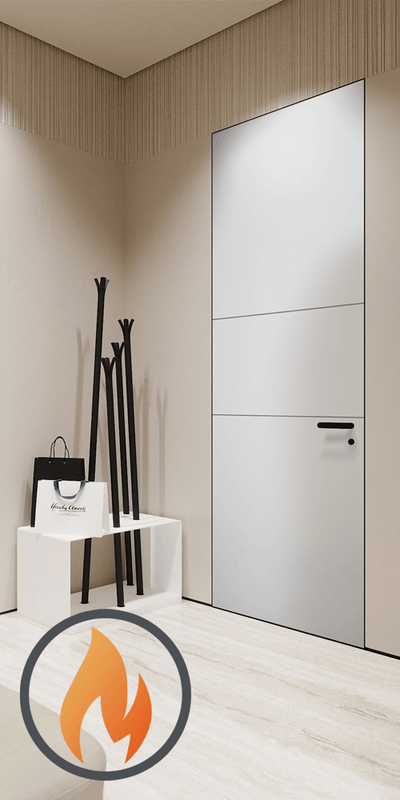
Flexible Payments
Financing Available
Spread the cost of your door project with our flexible financing options.
Learn More →Trade Program
Are You a Trade Professional?
Architects, designers, and contractors receive exclusive pricing and dedicated project support.
Learn About Trade Pricing →Get Started
Our team can help with product selection, sizing, and specification — at no charge.
Sign up for our mailing list to receive new product alerts, special offers, and coupon codes.
© 2026 My City Doors |


